Organization Overview
To clarify terminology, Prismatic's customers (i.e. you) are referred to as organizations, while your customers are referred to as customers throughout the documentation.
Creating your organization
To create an organization within Prismatic, first sign up.
For large enterprises with multiple distinct divisions, consider creating a separate organization for each division.
If your company has already created an organization, ask your organization's administrator to create a user account for you. Registering with Prismatic again will create a new, separate organization.
Setting your organization's avatar
To change your organization's avatar icon, navigate to the Theme tab. Logos are cropped and resized to 512 x 512 pixels and must be image files. Transparent, square PNG images typically yield the best results.
Renaming your organization
- CLI
- API
To rename your organization, use the prism organization:update subcommand:
prism organization:update --name "New Organization Name"
To update your organization's name programmatically, use the updateOrganization) mutation:
mutation {
  updateOrganization(input: { name: "New Organization Name" }) {
    organization {
      id
    }
  }
}
Swapping between tenants
If your email address is bound to multiple organizations in Prismatic, you can switch between them by clicking the Tenant Picker on the left-hand sidebar.
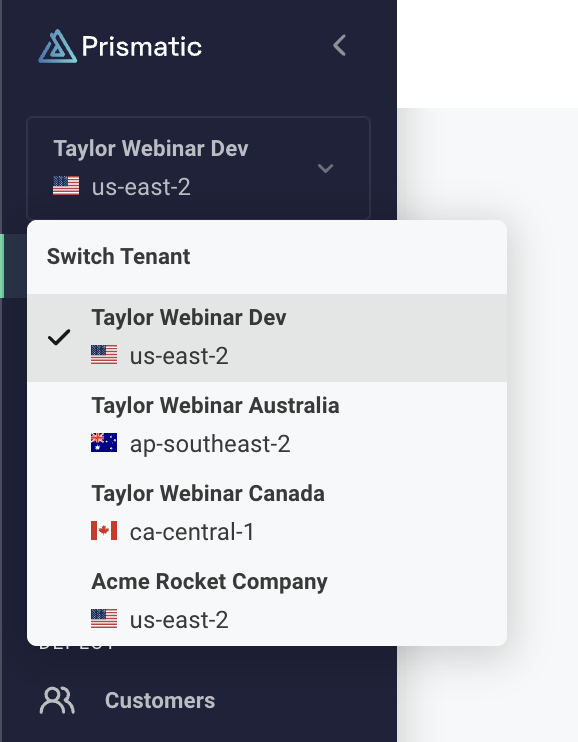
The Tenant Picker displays all tenants associated with your email address including tenants in other regions.
Deleting your organization
You can delete your organization from the Subscription tab within the organization Settings. Note that deleting your organization is permanent.