Code-Native Integrations
Are you new to code-native? Check out our getting started guide to build your first integration.
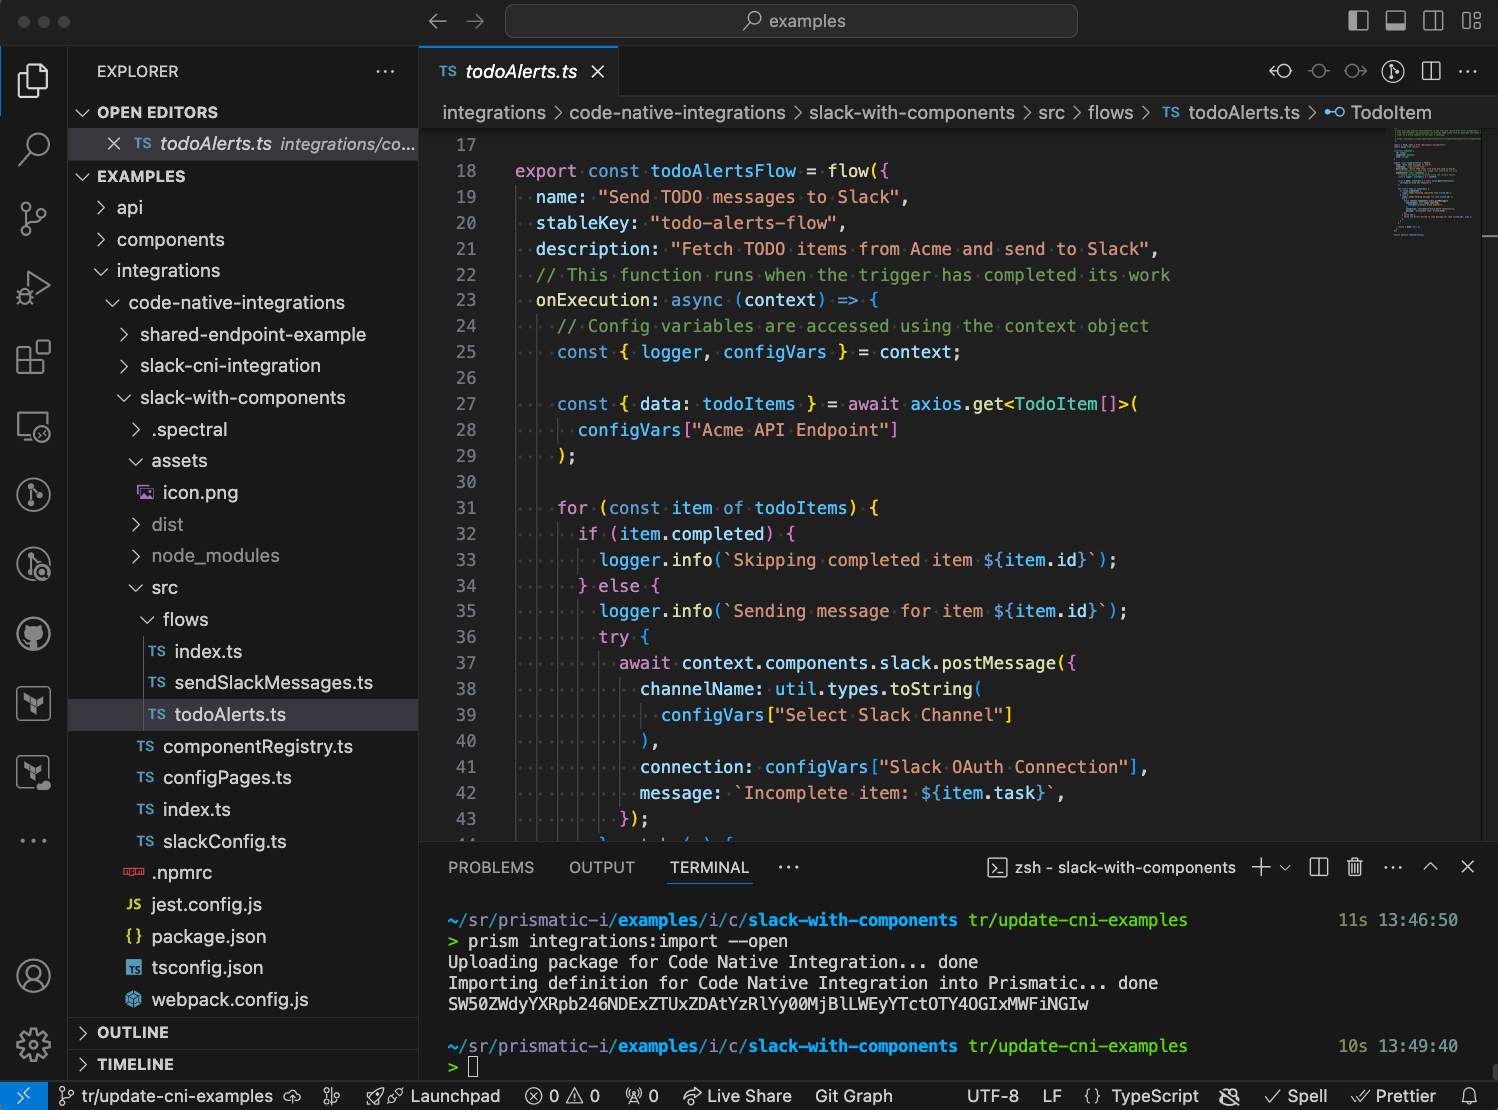
When building an integration, you can use either the low-code designer or create a TypeScript project in your favorite IDE. We call integrations built with code "code-native integrations" (or CNIs). This article explains how to build an integration entirely in code.
For example code-native integrations, please visit our GitHub repository.
Regardless of how you build your integrations, the rest of the platform remains identical. Both code-native and low-code integrations are deployed to the same runner environment. Both can include OAuth 2.0 connections, data sources, and other advanced configuration wizard steps. Integrations built using either approach can include multiple flows and can be added to your integration marketplace. The same logging, monitoring, and alerting tools are available for both types of integrations.
The key difference lies in how you build the integration - you either assemble a set of low-code steps in the designer or write TypeScript code to accomplish the same task.