Not long ago, we wrote a post on why we have a custom component SDK. Now, Taylor Reece, Customer Advocate at Prismatic, has hosted a webinar on how to use the SDK to build a custom connector.
To underscore how important custom connectors are for building integrations with Prismatic, we’ve included the highlights from his webinar in this post.
Why do we provide this SDK?
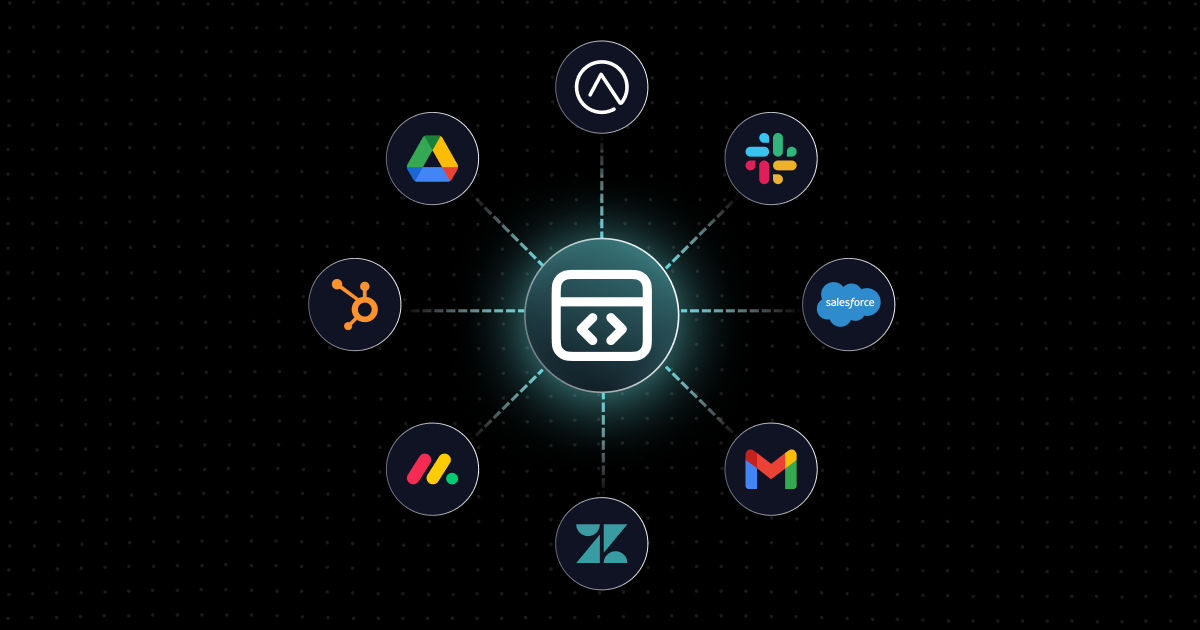
We have hundreds of connectors to various apps (file servers, databases, common apps from Adobe, Microsoft, Salesforce, and many more). But, despite all these connectors, you'll need to build ones we don't have.
At the very least, you will want to build a custom connector to your API. In addition, you may need to integrate with some bespoke apps, like an ERP that only your customers use.
Whatever the specific need you might have, that's why we built the custom component SDK.
Is this the same SDK we use to create our built-in connectors?
Absolutely. There is a small difference between a connector we build with this SDK for general use and one you might build: we tag ours as public: true so it is visible to all our customers. That's it. Otherwise, your custom connectors are indistinguishable from our built-in connectors.
We created an SDK we like to use and then made it available to our customers. We put much thought into the SDK to ensure that it supports a best-in-class dev experience for everyone.
Let's get started with the connector
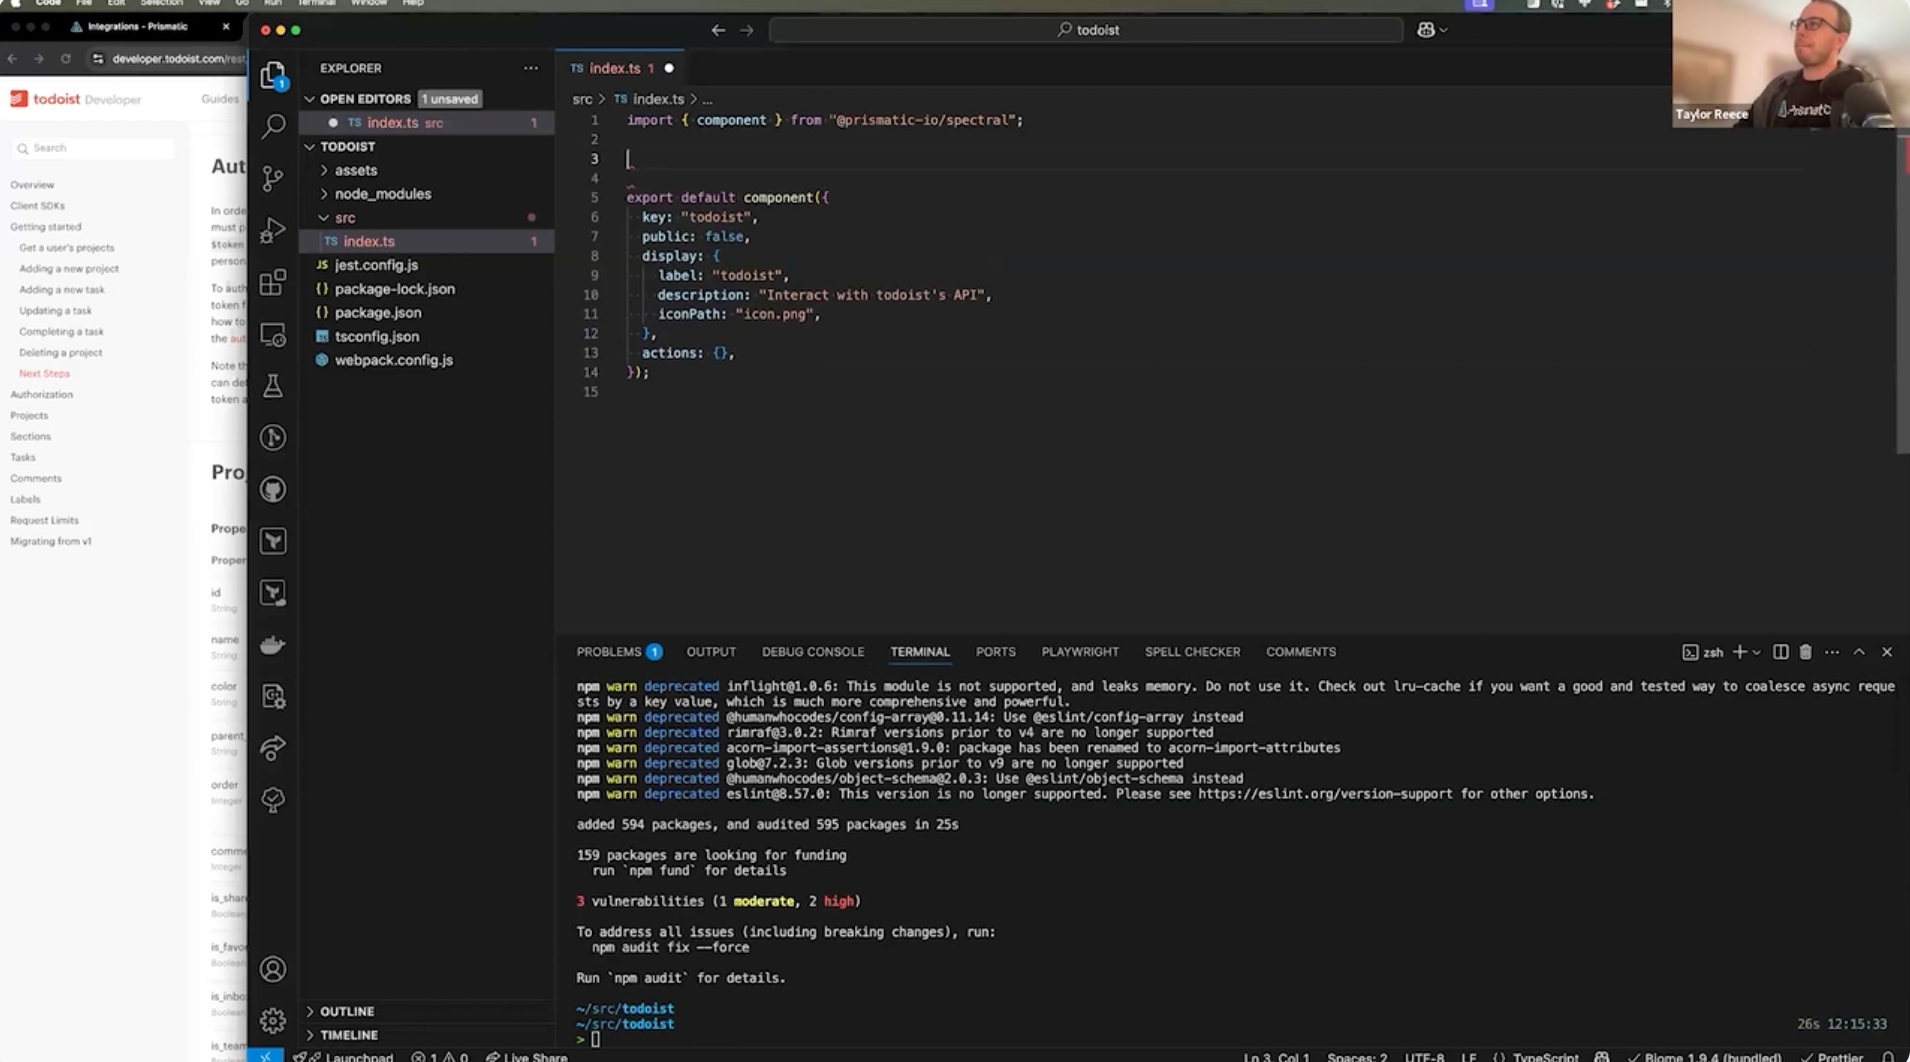
To get started, we invoke our SDK (aka Spectral) from the CLI (aka prism) and tell it that we want to create a new connector. We are building a connector with Todoist, a popular task management tool.
The SDK generates several files for us in the todoist directory and then downloads some stuff we need from npm. In addition, you can include whatever other dependencies you need.
Depending on what you'd like to do, you won't need to use all the generated files, but they provide a helpful starting point.
Build the Hello World action in the connector
Generally, an action gets a list of things, creates something new, or reads what's available. Our connector needs an action (a function that runs as part of the flow), so we create a classic action: Hello World.
Check out the video for the details.
View the action in the designer
Everything we've done to this point has been in VS Code, using the command line. Now, we move into the low-code integration designer provided by Prismatic.
We build out an integration by starting with a trigger and then adding an action from the Todoist connector. We have just one action, Say Hello World, so we add that.
We then add the FirstName and LastName values for the action and run the connector. As expected, they are incorporated into the action, and Prismatic generates "Hello, FirstName LastName" as the output.
Set up OAuth for the connector
Every API has a different way of handling auth. Todoist uses OAuth.
We include an OAuth connection in the connector to hit the Todoist API.
We write a bit of TypeScript to wrap it into the connections.ts file. Once everything is put together, we can use OAuth with an HTTP client and authenticate against the Todoist API.
Create the List Projects action for the connector
We built the Hello World action, which that was just a base test to see if things were working. Now, we create a new action: List Projects. This lets us use the connector to hit the Todoist API and list every available project.
The List Projects action looks a lot like Hello World. However, we also create another function to generate an HTTP client. We use an Axios-based HTTP client, but you could use whichever HTTP client you wish.
We now have all the pieces necessary to use the HTTP client to make a request of the Todoist API using auth to get a complete list of projects.
Add the connector to an integration and run it
We go back into the low-code designer and see the integration we worked on earlier with the Hello World action. We'll eliminate that action (since we've already deleted the underlying code) and add the List Projects action to the integration.
At this point, we configure the connection with Todoist to use the OAuth connection. Once this connection is made, we run the integration and generate a list of Todoist projects.
Set up and run a test in the IDE
We can jump back and forth from VS Code to the low-code designer to perform testing. But it's inefficient. We want to stay in the IDE as much as possible while building custom connectors.
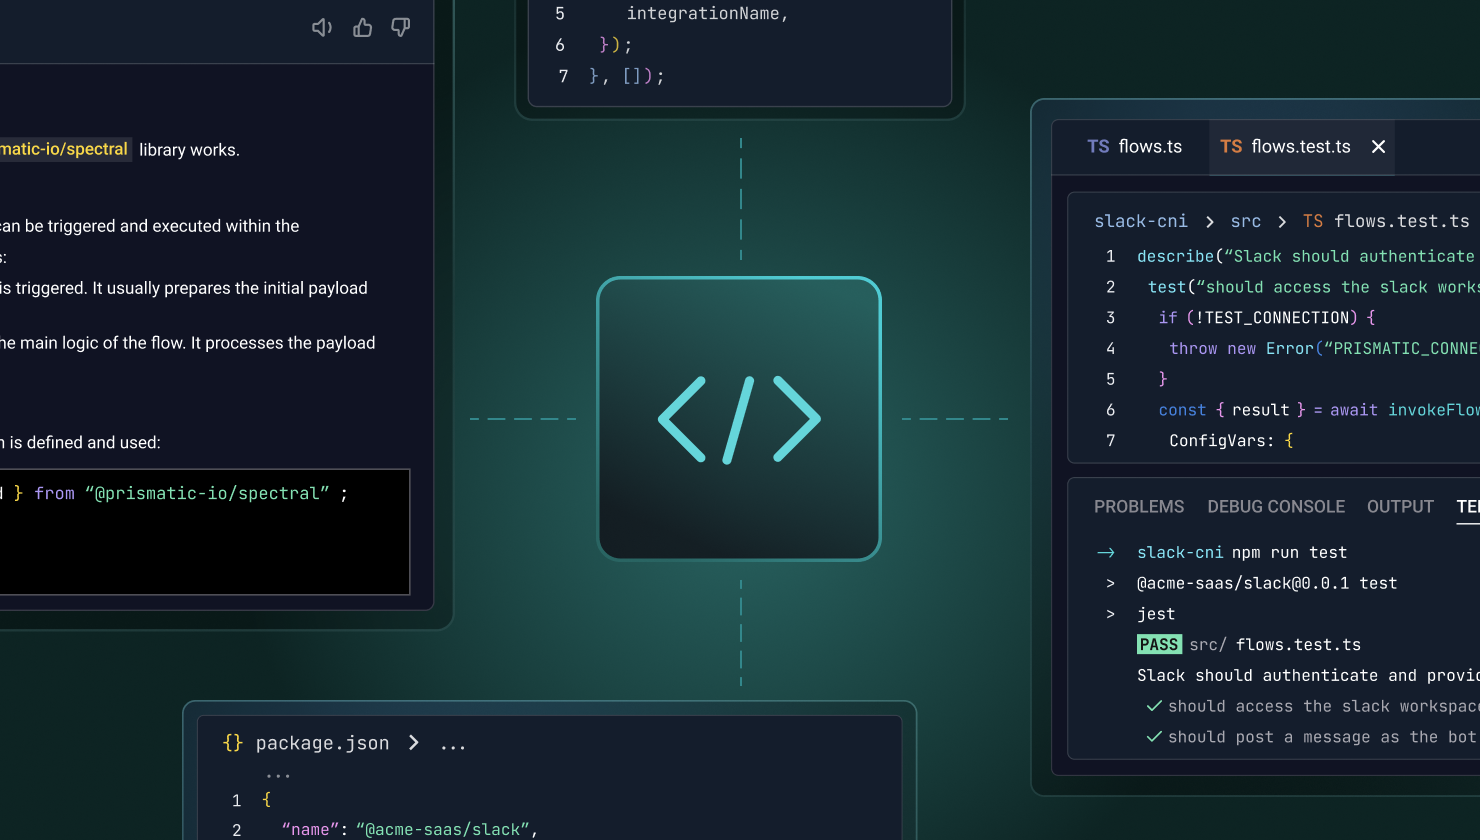
The good news is that we have tools to enable this. We start by importing a testing harness from our library. We can now locally invoke any action, data source, trigger, etc.
We are using jest for our testing. We grab an action and some parameters and enter them into our test. We then use prism to retrieve the OAuth connection from the low-code designer (where we set it up earlier for the integration).
We test the List Projects action and generate the same data we did earlier in the low-code designer. Success! From this point, we can create as many actions as we need for the connector and then quickly test them in the IDE.
Question on triggers
As part of the webinar, Taylor answered a number questions. Here’s one of them.
Question: Can you talk about how data sources and triggers fit in with what you’ve shown?
Answer: For sure. Data sources are kind of what I alluded to earlier where you want some custom UX that your customer goes through as they configure and deploy an integration. Triggers, on the other hand, are custom bits of code that someone calling your integration is going to interact with. So, by default, if you call a flow in Prismatic, what you get back is an ID for the execution that started running. But certain apps expect a very specific response. Salesforce, for example, expects a very specific acknowledgement, like an XML acknowledgement response.
And Slack will send you a challenge code in the body of their request and they expect that the response has that challenge code in it. You can build a custom trigger to handle those custom responses, and you can also bake some security into custom triggers. I know a lot of apps use HMAC, which is a hash-based message auth code that you can use to verify the apps that are sending your integration requests are truly Slack, for example, and not some random person online.
Next steps?
Watch the webinar to get all the details. Or, schedule a demo, and we'll show you exactly how to use our custom component SDK as part of your integration solution.

