Configuring Event Webhooks
This guide shows you how to set up, test, and secure event webhooks in Prismatic.
For an overview of what event webhooks are and why they're useful, see Prismatic event webhooks.
Setting up event webhooks
To set up or manage your event webhooks, first navigate to the Event Webhooks tab in your Prismatic organization settings. Click +Event Webhook to configure a new webhook, or click an existing webhook to modify it.
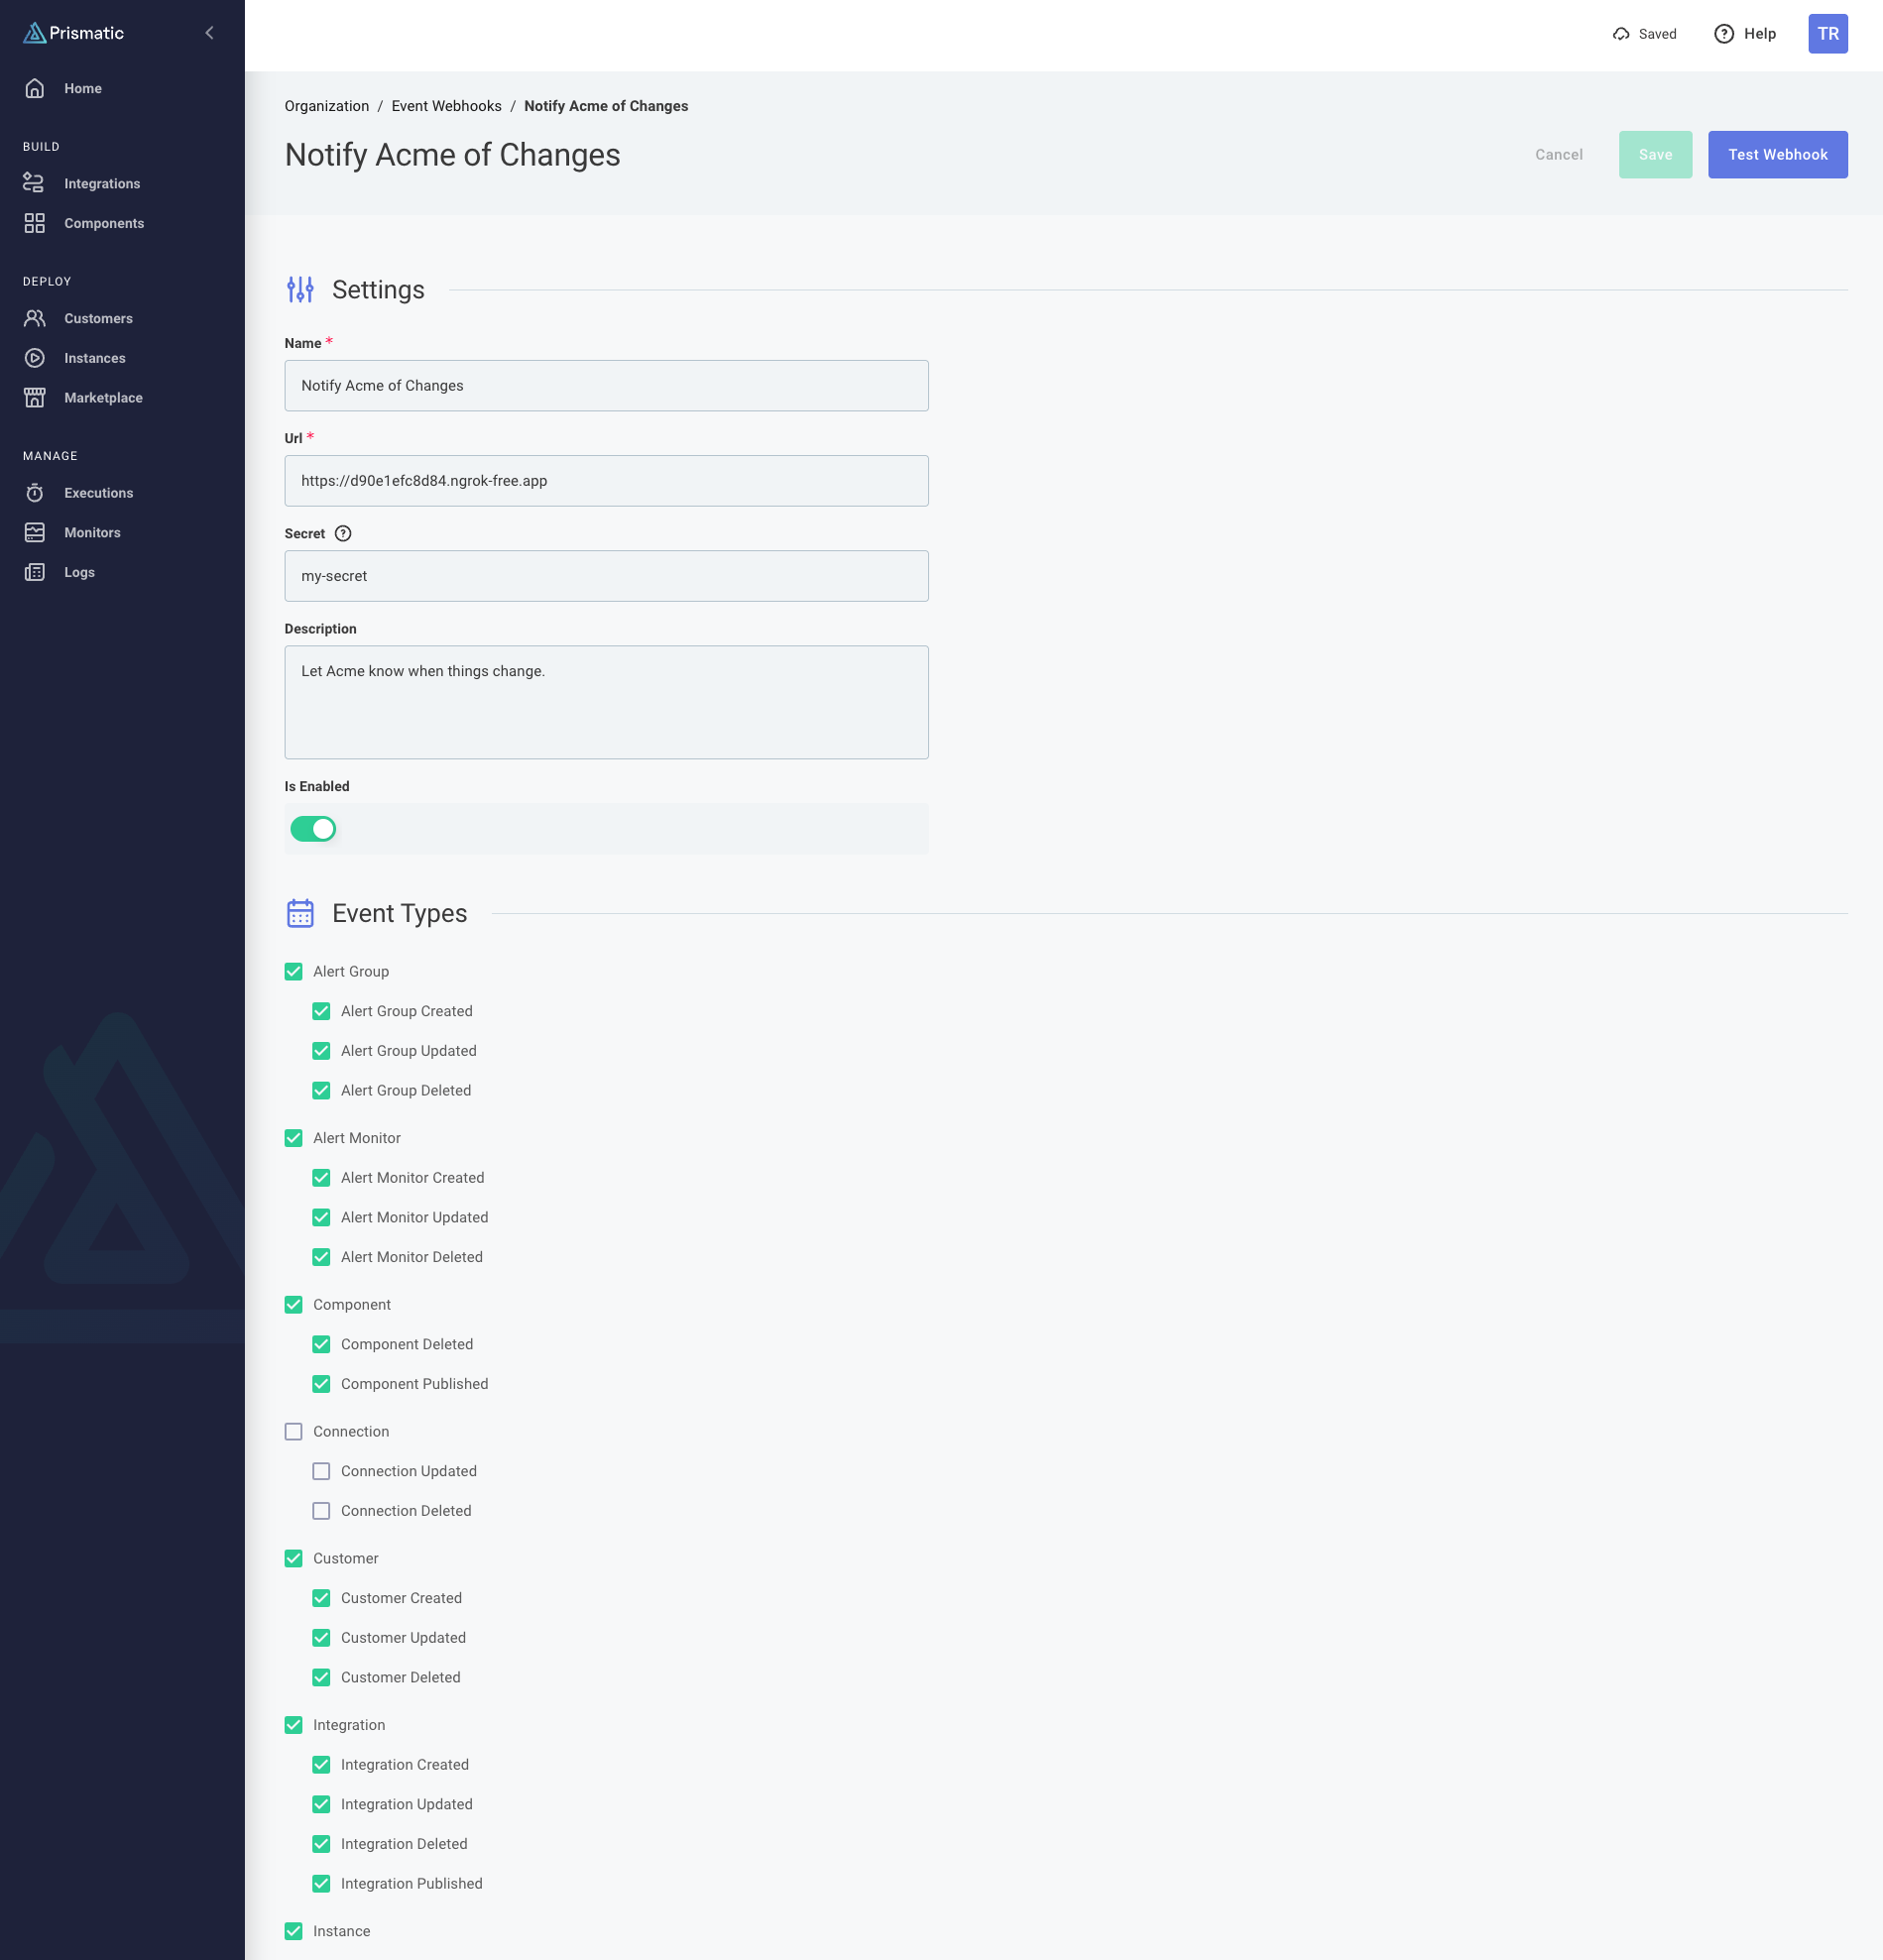
Fill in the required information:
- Name: A descriptive name for your webhook (e.g., "Production Monitoring")
- URL: The endpoint where webhooks will be sent
- Secret: (Optional) An HMAC secret key for verifying webhook signatures
- Description: Additional context about the webhook's purpose
- Is Enabled: Toggle to enable or disable the webhook
Next, select the events that should trigger this webhook:
- You can select individual events or use category checkboxes to select all events of a certain type
- Common selections include:
- Instance lifecycle events (created, updated, deployed)
- Integration changes (published, updated)
- Customer management events
- Alert monitors
After configuring your webhook, use the Test Webhook button to verify your endpoint is working and check that you receive the test payload at your endpoint.
Finally, click Save to create the webhook and ensure the Is Enabled toggle is turned on.
Testing event webhooks
Use the Test Webhook button in the Prismatic UI to:
- Verify your endpoint is accessible
- Confirm the payload format is correct
- Test your webhook processing logic
- Validate authentication and security measures
When you click Test Webhook, your endpoint will receive a webhook.test event with a payload that looks like:
{
  "message": "This is a test webhook event from Prismatic.",
  "webhook_endpoint": {
    "id": "V2ViaG9va0VuZHBvaW50OmJiNGVjYTIzLWI5NzgtNDU1Mi05MDljLTI5YmRlMzZjZTYxMQ==",
    "name": "Notify Acme of Changes"
  },
  "user": {
    "id": "VXNlcjoyMzZkMDA3ZS0zZGIxLTQ4MWItOTMyNS0zMjhhYTE0OTY5MDA=",
    "email": "john.doe@example.io",
    "name": "John Doe"
  },
  "event_type": "webhook.test",
  "timestamp": "2025-08-21T20:21:40.405396+00:00",
  "organization_id": "T3JnYW5pemF0aW9uOmJjYjE0NjEzLTNjZTItNGQ0MC04OTZmLTIyNTZiNjcyYTllYw==",
  "webhook_id": "bdea273d-2500-42a2-854b-5189c3f66cfa"
}
Securing webhooks with HMAC signatures
If you set a Secret when configuring your webhook, Prismatic will use it to generate an HMAC SHA-256 signature for each webhook request.
The signature will be sent as a header, x-webhook-signature in the form sha256=<signature>.
This allows you to ensure that the webhook request is coming from Prismatic and has not been tampered with.
For example, suppose you receive the following webhook event payload:
{"message":"This is a test webhook event from Prismatic.","webhook_endpoint":{"id":"V2ViaG9va0VuZHBvaW50OjEwNTI1MjE3LTE4NDMtNGRiNC04YjYyLTgwZTdmOTc5OGEzZA==","name":"Testing"},"user":{"id":"VXNlcjozNDkwNjA3MC0wMjRmLTQxNzMtYjYxMy1mN2I0MWFmYmEwNDM=","email":"john.doe@example.com","name":"John Doe"},"event_type":"webhook.test","timestamp":"2025-10-08T14:13:05.914923+00:00","organization_id":"T3JnYW5pemF0aW9uOjQ0ZjkyMTlkLWU0ZGEtNGEwZi04ZmNhLWJkZmJlNTdiMzBjNA==","webhook_id":"4c79940b-b166-41cb-8b45-944e25b480f3"}
If your secret is set to my-secret-key-abc-123, the x-webhook-signature header would contain:
sha256=88563276df8a665d1e57bf8a05c2c2432ff80b583297082b768fb06f173e0b59
Verifying signatures with Express
In this example Express app, we verify the request signature using Node.js's crypto module before processing the webhook event:
import express from "express";
import { createHmac } from "node:crypto";

const PORT = 3000;
const PRISMATIC_SIGNING_SECRET = "my-secret-key-abc-123";

const app = express();

app.post("/my-webhook-endpoint", express.raw({ type: "*/*" }), (req, res) => {
  // Get HMAC signature from header and compare it to the one we generate
  const signatureHeader = req.headers["x-webhook-signature"];
  const signature = createHmac("sha256", PRISMATIC_SIGNING_SECRET)
    .update(req.body)
    .digest("hex");

  // If the signatures don't match, return a 401
  if (signatureHeader !== `sha256=${signature}`) {
    console.warn("Rejecting request with invalid HMAC signature");
    return res.status(401).send({ error: "Invalid signature" });
  }

  // Parse the event request and handle the event
  const payload = JSON.parse(req.body.toString());
  switch (payload.event_type) {
    case "webhook.test":
      console.log("Got a test webhook");
      break;
    case "instance.created": {
      console.log(
        `Instance (${payload.instance.id}) created from integration (${payload.integration.name}) for customer ${payload.customer.external_id}`,
      );
      break;
    }
    default:
      console.warn(`Unhandled event type: ${req.body.toString()}`);
  }
  res.status(200).send({ received: true });
});

app.listen(PORT, () => {
  console.log(`Example webhook receiver listening on port ${PORT}`);
});
Similar strategies can be used in other programming languages and frameworks.
For a complete working example, see Example Node.js Express Webhook Receiver.
Understanding webhook retry behavior
If a Prismatic event webhook request fails (e.g., due to a network error or a non-200 HTTP response), Prismatic will automatically retry the request up to three times after 100, 200, and 400ms.
If more than 25 webhook requests have failed within one minute, the webhook will be disabled for 5 minutes. All events that accumulate during that duration will be sent once the webhook is re-enabled after 5 minutes.
Troubleshooting
Webhook not receiving events
- Verify the webhook is enabled
- Check that the correct event types are selected
- Ensure your endpoint is accessible and responding with 2xx status codes
Missing events
- Confirm the event types you've selected
- Check if the events actually occurred in Prismatic
- Verify your webhook configuration is saved
Authentication errors
- Ensure your endpoint accepts POST requests
- Check that you're not requiring authentication that Prismatic can't provide
- Verify your endpoint can handle the webhook payload format