Schedule Triggers
Scheduled triggers allow you to create a regular schedule to specify how often your integration should run. This is useful when you have an integration that should be triggered consistently at a specific time. You can set up your integration to run at the same time for all customers, or you can set up schedules on a per-customer basis.
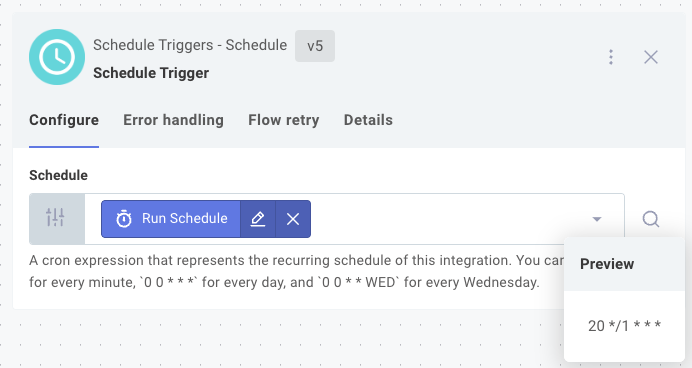
To set up the same schedule for all customers, click the integration's trigger, open the Schedule input, and enter the schedule you would like your integration to follow. You can configure your integration to run every X minutes, hours, days, or weeks:
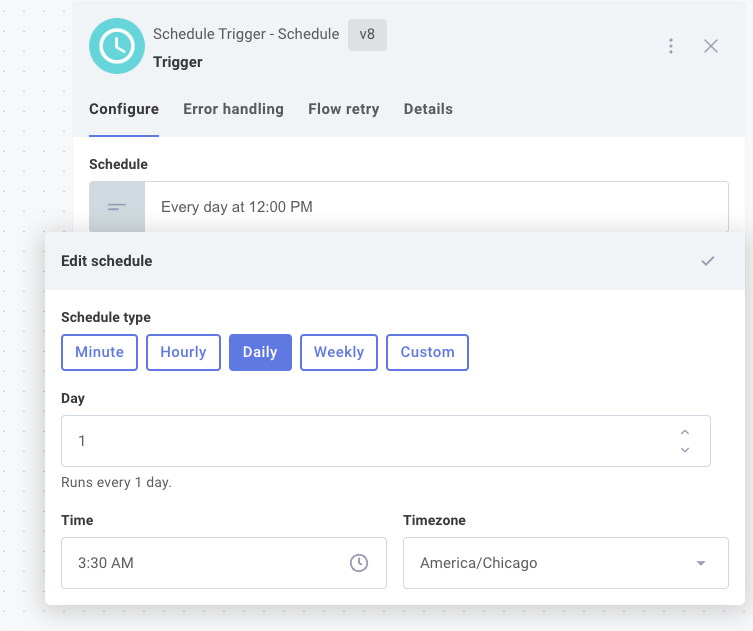
You can alternatively select Custom and provide a cron string (interpreted in UTC time).
For example, a trigger of */5 8-16 * * 1-5 would cause your integration to run every five minutes during business hours (8:00-16:55), Monday through Friday.
For help computing a cron schedule, see this Cron Calculator.
Ensuring singleton executions for scheduled flows
By default, if a scheduled trigger is set to run every 5 minutes, and one execution takes longer than 5 minutes, a second execution will start while the first execution is still running. This can lead to multiple executions running concurrently, which may not be desirable for your integration.
To ensure that only one execution of your integration runs at a time, select your scheduled trigger and open its Flow control tab. Toggle Enable Singleton Executions.
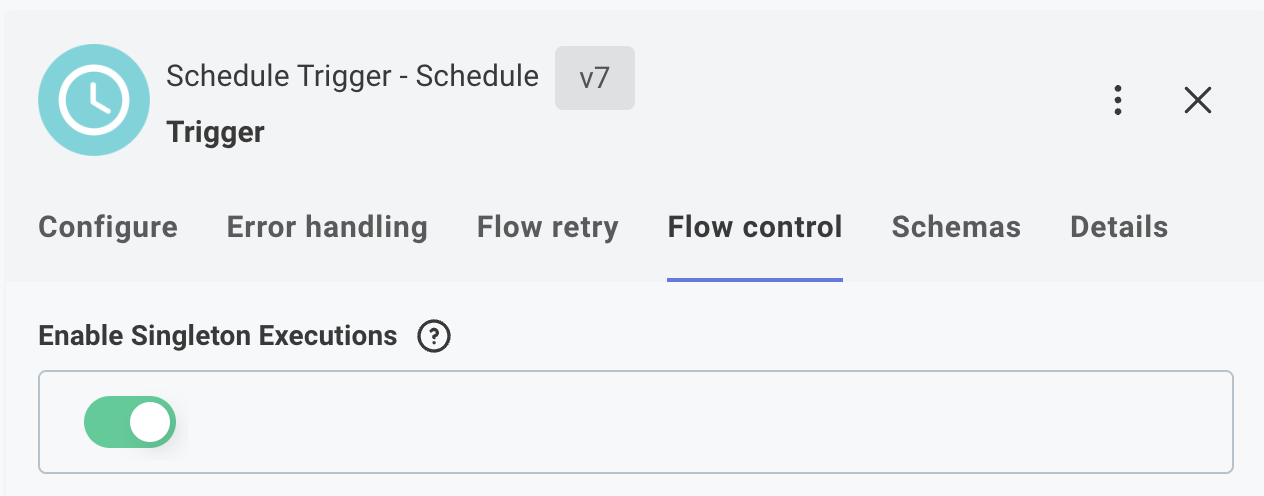
When this option is enabled, if an execution is still running when the next scheduled time occurs, the new execution will be skipped.
To enable singleton executions in a code-native integration, see Code Native Flows.
Setting trigger schedules from a config variable
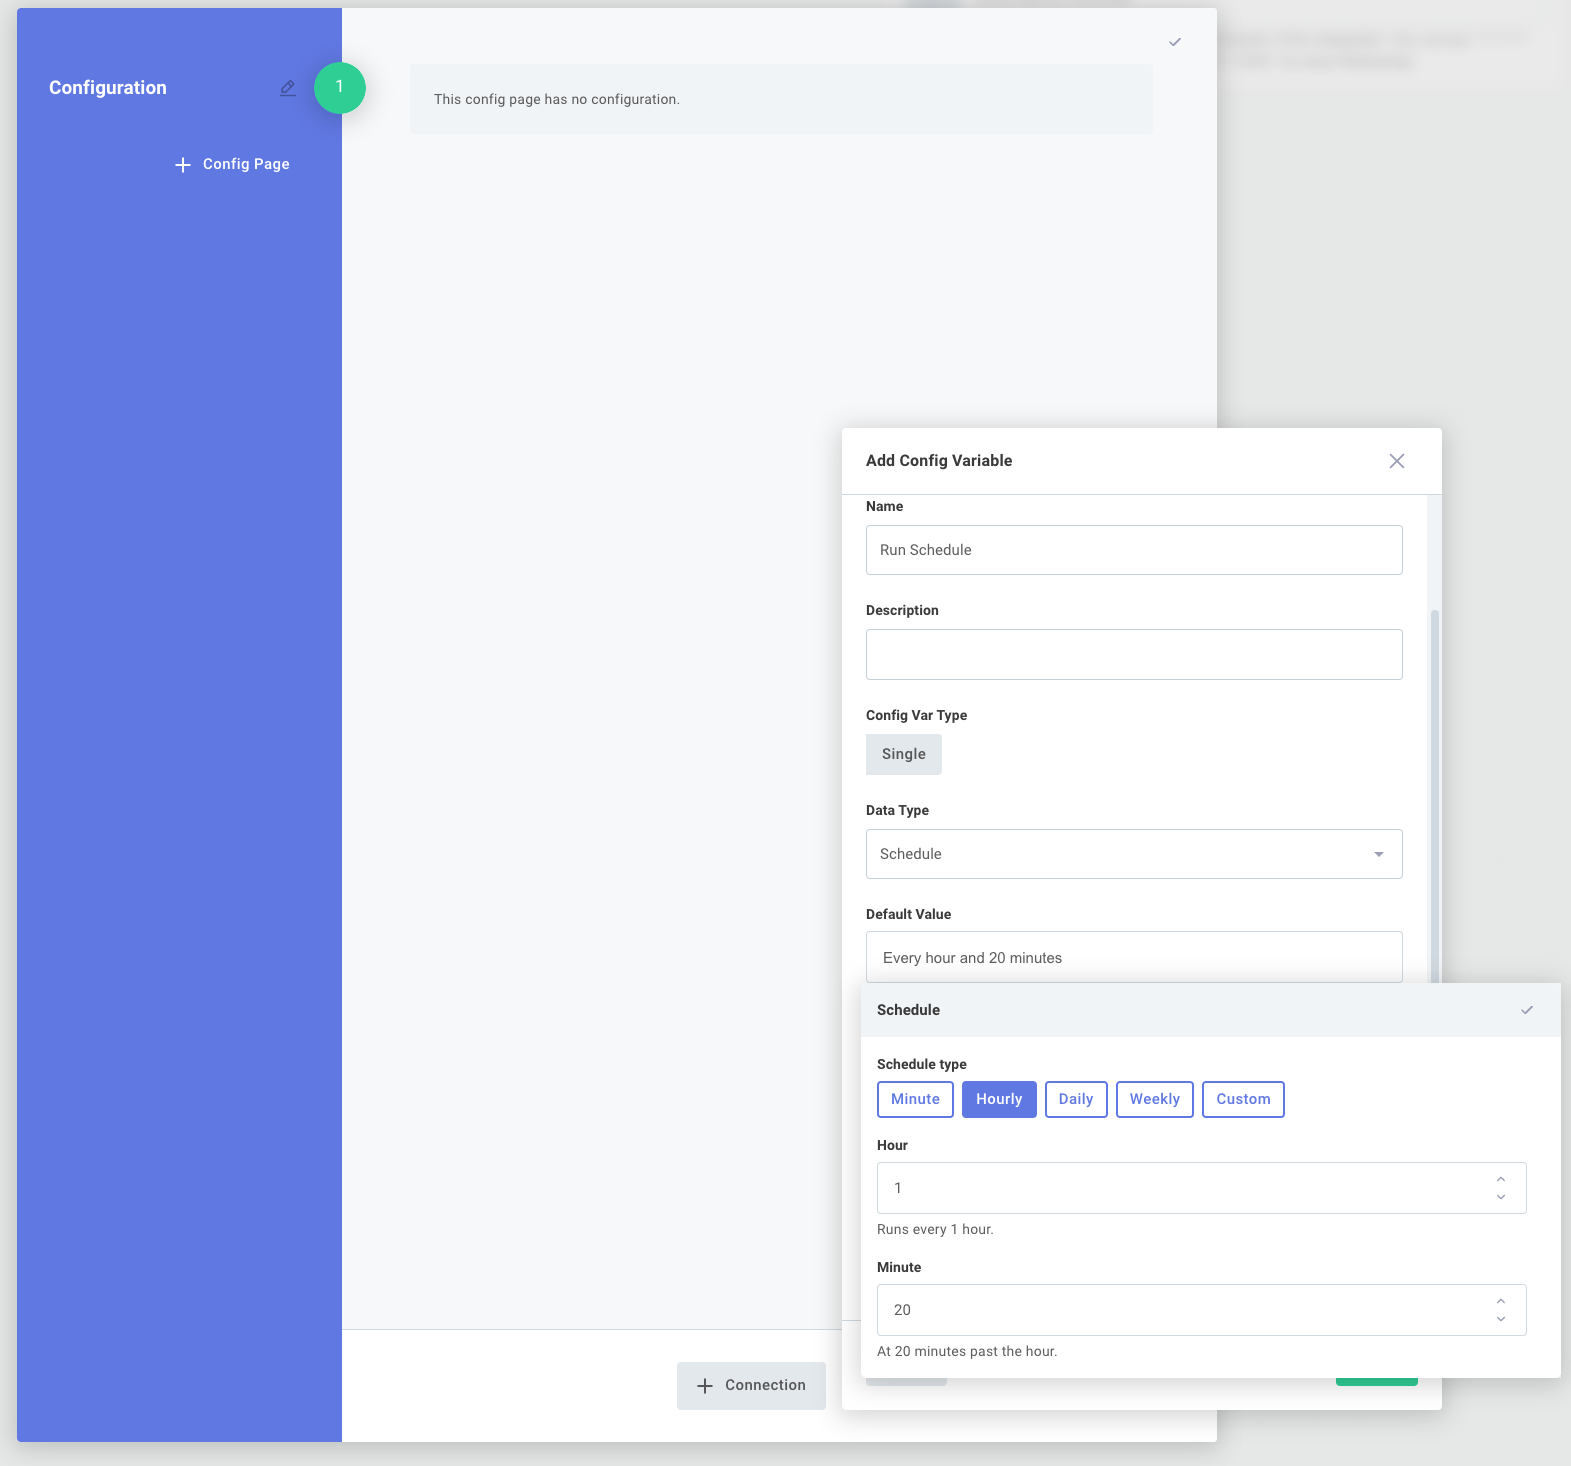
To configure schedules on a per-customer basis, first create a config variable of type Schedule within the config wizard designer. You can give your config variable any name you choose:
Then, click your integration trigger and reference the Config Variable you created:
When your integration deployment team later deploys an instance of your integration, they can configure a custom schedule for that instance.
Staggering schedules for customers
If you have many customers, you may want to stagger the schedules to avoid concurrent execution constraints or prevent overwhelming your integration's target system.
To stagger schedules, you can use a string type config variable to set a schedule for each customer. If you use a code data source and mark your config variable as embedded, you can automatically generate a schedule for each customer without their intervention. This allows you to set different schedules for each customer without manually configuring each instance.
This Code Block String example shows how to set a schedule that runs every 5 minutes, but with a random offset of up to 5 minutes for each customer:
module.exports = async () => {
  // Random integer between 0 and 4
  const randomNumber = Math.floor(Math.random() * 5);

  // Create a cron string using the random number
  // "0-59/5 * * * *" means "At every 5th minute from 0 through 59." (i.e. :00, :05, :10, :15, :20...)
  // "3-59/5 * * * *" means "At every 5th minute from 3 through 59." (i.e. :03, :08, :13, :18, :23...)
  const cronString = `${randomNumber}-59/5 * * * *`;

  return { result: cronString };
};
One customer may have a schedule of 0-59/5 * * * *, while another customer may have a schedule of 3-59/5 * * * *.
An example integration that uses the above code is available here.
Similar code snippets can be used to generate other random schedules. See Cron Guru for help with cron syntax.
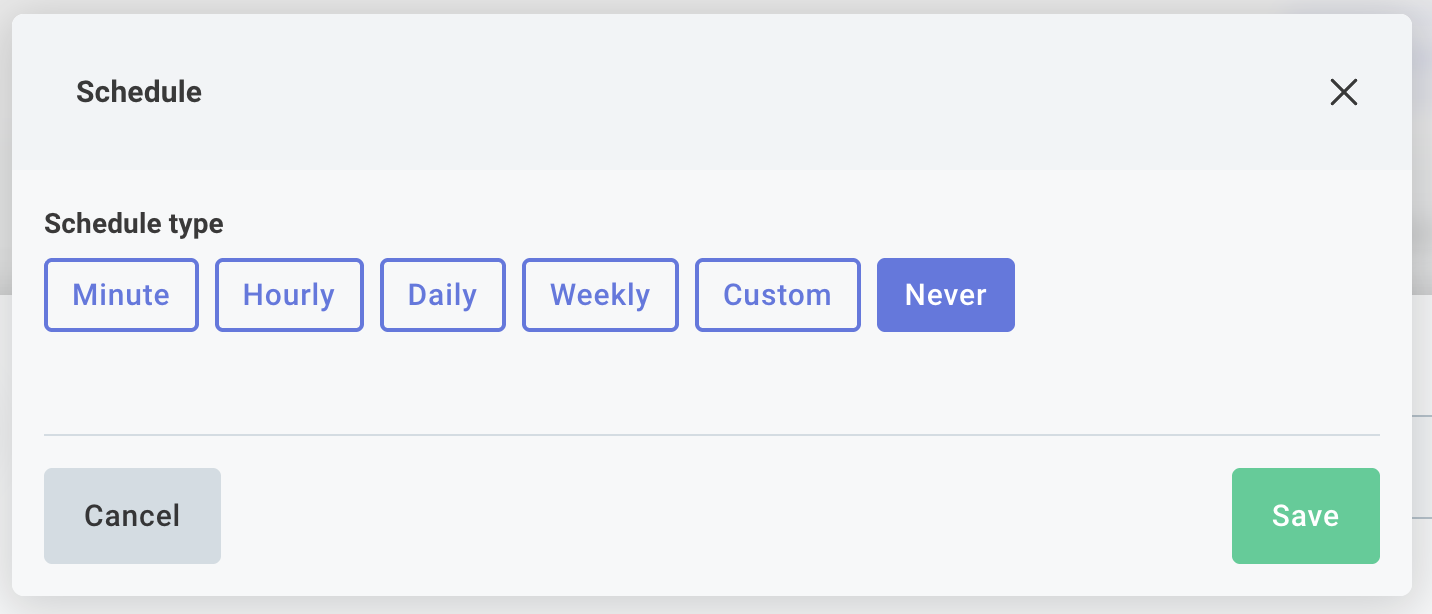
Disabling scheduled triggers
To disable a scheduled trigger that is driven by a config variable, you can select Never as your schedule type. When Never is selected, the flow will not run on a schedule and will only run when manually triggered.