Steps
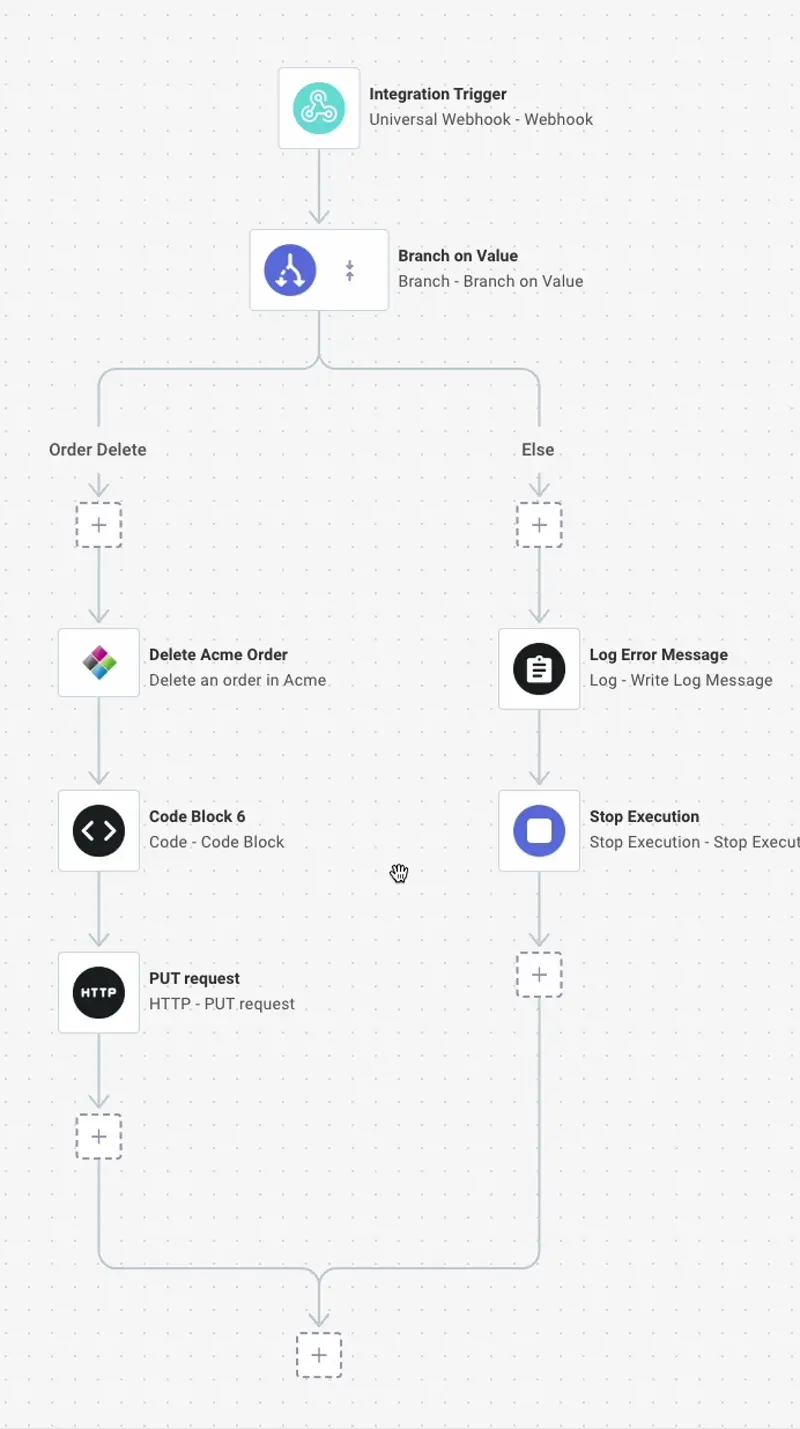
A flow consists of a series of steps that execute in order, with each step performing a specific action like fetching data, transforming it, or sending it to another system. Understanding how to add, configure, and connect steps is fundamental to building integrations.
Integration steps
Actions, like downloading a file from an SFTP server or posting a message to Slack, are added as steps of an integration. Steps are executed in order, and outputs from one step can be used as inputs for subsequent steps.
Steps are run in order from top to bottom, and you can add conditional logic to your integration with a branch or run a series of steps on a data set in a loop. If one step throws an error, the integration stops running.
The trigger step
The first step of your integration is the trigger step, which determines when instances of your integration will run. The integration triggers article details how triggers work and how to invoke your integration.
Adding steps to integrations
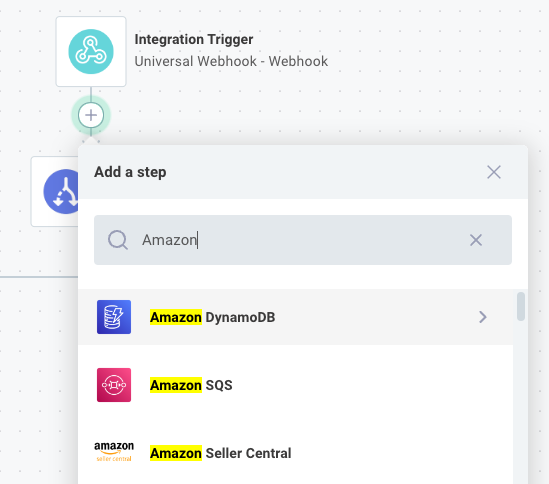
To add a step to an integration, click the + icon underneath the trigger or another action.
Select the component and action you would like to add to your integration. For example, you can choose the Amazon DynamoDB component and then select the Create Item action. You can begin to type the name of the component or action you would like to add to filter the list of components and actions available.
Choosing component versions
Components are versioned. You can choose a version of each component (custom or built-in) that works for your integration. "Pinning" component versions for your integration prevents accidental regressions if a new version of a component is published that contains breaking changes.
To choose what version of each component your integration uses, click the Component Versions button on the right-hand side of the integration designer.
You can choose to run the latest version of a component or any previous version. Components running the latest available version will be marked in grey, while components running a version for which there is a newer version available will be marked in yellow.
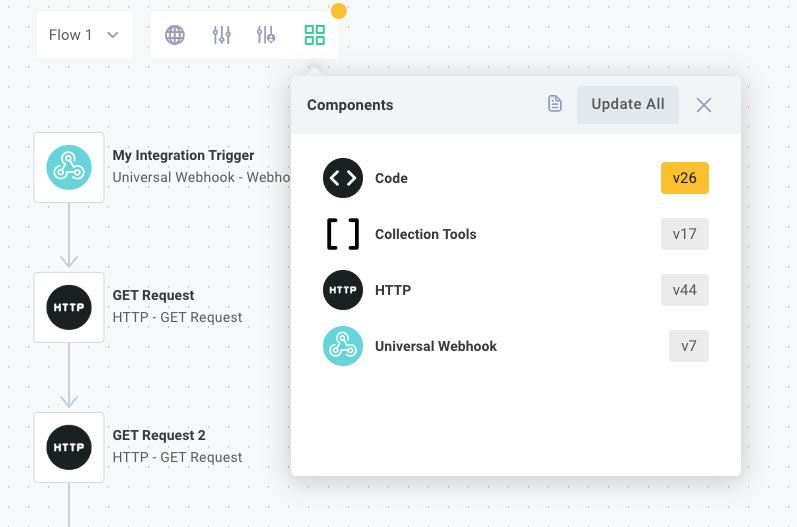
To change the version of a component your integration uses, click the CHANGE VERSION button to the right of the component you want to change and select a version from the dropdown.
Cloning steps
If you would like to make a copy of a step in your integration, click the ... button next to the step and then select Duplicate.
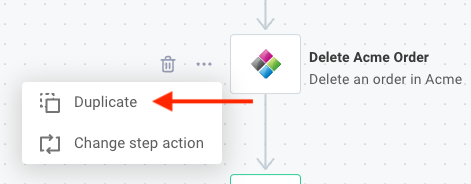
This will copy the step, including any inputs you've configured for the action.
Changing step actions
If you would like to change the action that a step uses, click the ... button next to the step and then select Change Step Action.
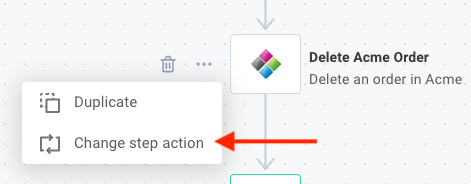
You will be prompted to select a different action and then will be prompted to fill in that new action's inputs.
Changing step names
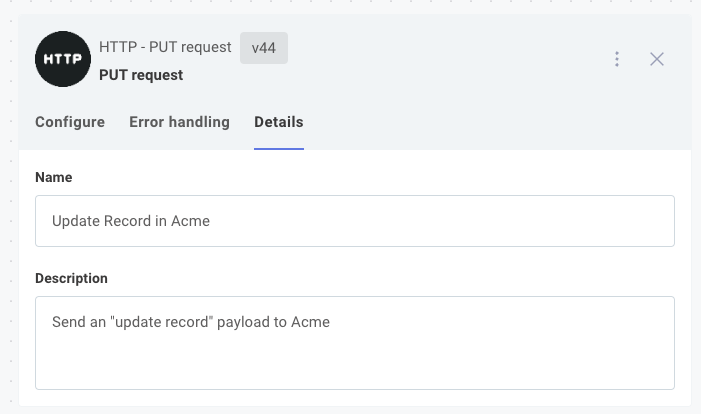
By default, steps are uniquely named after the action they invoke (so they're named things like CSV to YAML or Delete Object). To override that default name, click the step and open the Details tab in the step configuration drawer.
Like using descriptive variable names in a program, renaming steps allows you to give your steps descriptive names.
Rather than HTTP - PUT, you could give your step a name like Update Record in Acme.
We recommend giving your steps descriptive names and descriptions so your team members can read through integrations and understand their purpose more readily.
Reordering steps
Steps are executed in serial. To reorder steps, click and drag a step up or down.
