Custom OAuth 2.0 Redirects
By default, users are redirected to a generic authorization completion page after completing an OAuth 2.0 flow. You can customize these redirect destinations to send users to specific pages in your application after successful or failed authorization attempts.
Configuring custom OAuth 2.0 redirects
Normally, a customer user who completes an OAuth 2.0 flow finds themselves on an "Authorization Complete" screen - https://app.prismatic.io/app/authorization-complete/.
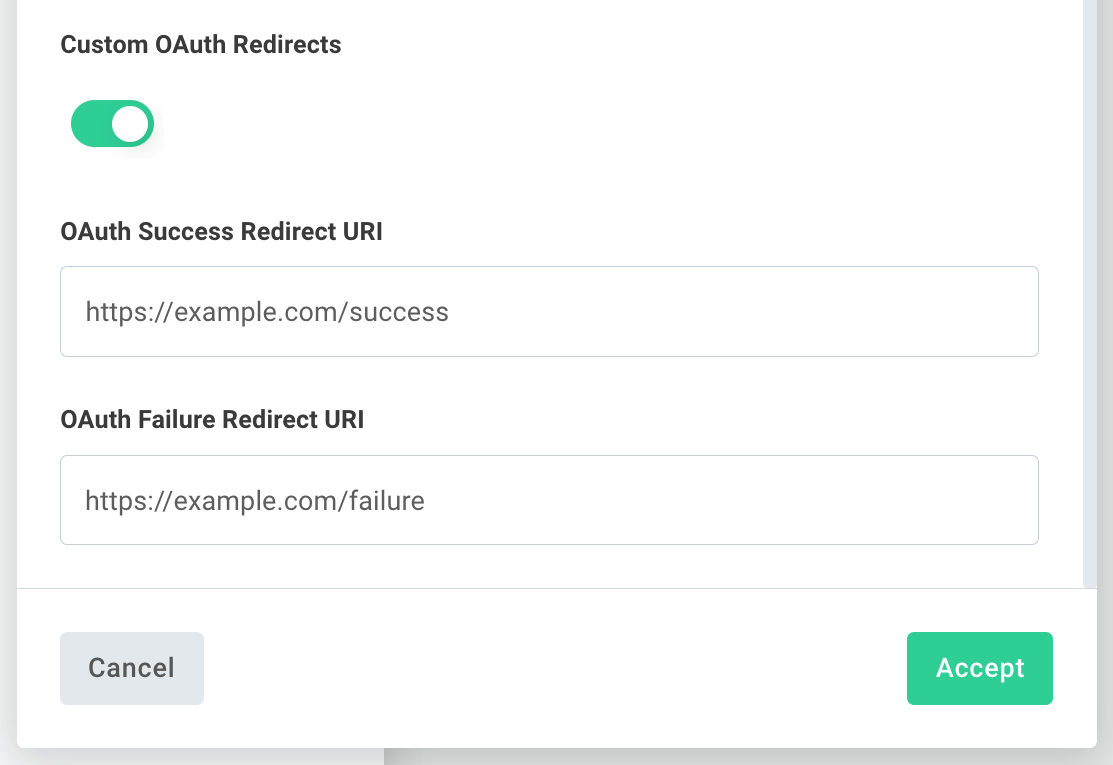
If you would like to customize where a customer is redirected after a successful or failed OAuth 2.0 flow, toggle the Custom OAuth Redirects option on the connection and enter URLs for OAuth Success Redirect URI and OAuth Failure Redirect URI.

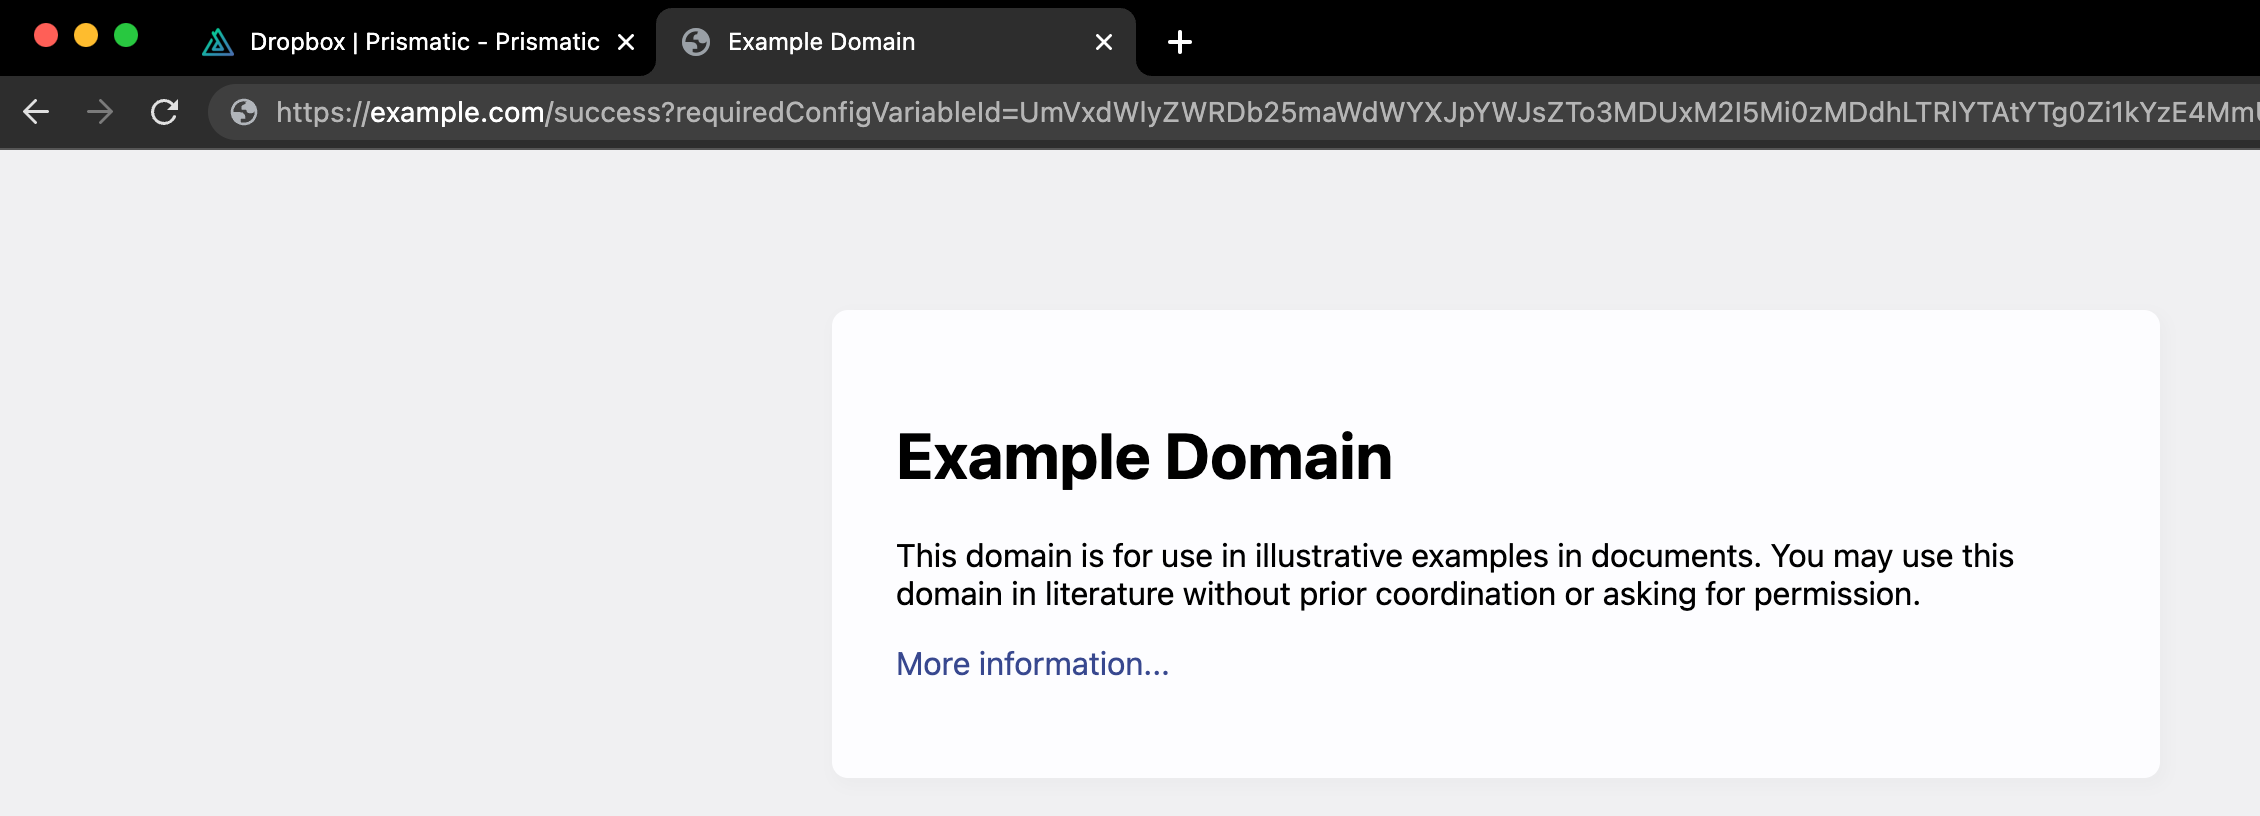
Your user will be redirected to those URLs with URL search parameters representing:
- The instance's
instanceIdandinstanceName - The integration's
integrationIdandintegrationName - The required config variable's
requiredConfigVariableIdandrequiredConfigVariableKey - The connection's
id. For instance-level connections, this will be the instance's config variable ID. For user-level connections, this will be the user-level config variable ID.

Closing OAuth 2.0 success pages immediately
If you'd like to omit the "connection successful" page altogether, create a publicly-available HTML page that immediately runs a JavaScript parent.close() function, like this:
<html>
  <head>
    <script type="text/javascript">
      document.addEventListener("DOMContentLoaded", (event) => {
        parent.close();
      });
    </script>
  </head>
  <body>
    <h1>Success!</h1>
    <p>
      You have successfully authorized the application to access your account.
    </p>
    <p>You can now close this window</p>
  </body>
</html>
After arriving at Prismatic's OAuth 2.0 callback URL, the user will be redirected to your HTML page that immediately closes their tab. That should leave them on your integration's config wizard, ready to complete the rest of the integration configuration.