Deploying Instances
Options for deploying instances
Once you've built and published an integration, it's time to configure and deploy an instance of your integration to a customer. You can either deploy the instance yourself, or grant your customer access to deploy the instance themselves.
Option 1: Deploy an instance yourself
As you work with your first few customers and build out an MVP, it may be easiest to deploy instances yourself.
Advantages:
- You can quickly iterate on your integration and fix any production issues that arise.
- No additional development work is required to support self-deployment.
Disadvantages:
- You'll need to manually deploy instances for each customer.
- You'll possibly need to handle the customers' credentials for the third-party service as you configure the instance.
Option 2: Grant customers access to deploy instances through the Prismatic app
You can invite your customers to log in to Prismatic and deploy instances themselves. You can do this by publishing your integration to the integration marketplace and then invite the customer user to your tenant. The customer user will only be able to see instances that are deployed to them (and not to your other customers).
Advantages:
- Your customer can configure and deploy instances themselves.
- You don't need to handle the customers' credentials for the third-party service.
Disadvantages:
- Your customer will require an additional login to Prismatic.
Option 3: Embed the integration marketplace in your app
You can embed the integration marketplace in your app so that your customers can deploy instances without leaving your app.
Advantages:
- Customers can deploy instances for themselves without leaving your app.
- You can leverage your existing authentication system to authenticate customers.
- You have some control over the fonts, colors and other styling of the marketplace, so you can make the embedded iframe match your app.
Disadvantages:
- Some development work is required to embed the marketplace in your app (though, the Prismatic embedded SDK makes this easy!).
Option 4: Build your own UI for deploying instances
If you want to build a custom UI for deploying instances, you can use the Prismatic embedded SDK to make API requests to the Prismatic API on behalf of your customer user. You can query for integrations in the integration marketplace, components, etc., and can map those records to custom UI elements in your app.
Advantages:
- You have full control over the UI and can build a custom UI that fits your app's look and feel.
Disadvantages:
- This option requires the most development work.
Configuring instances
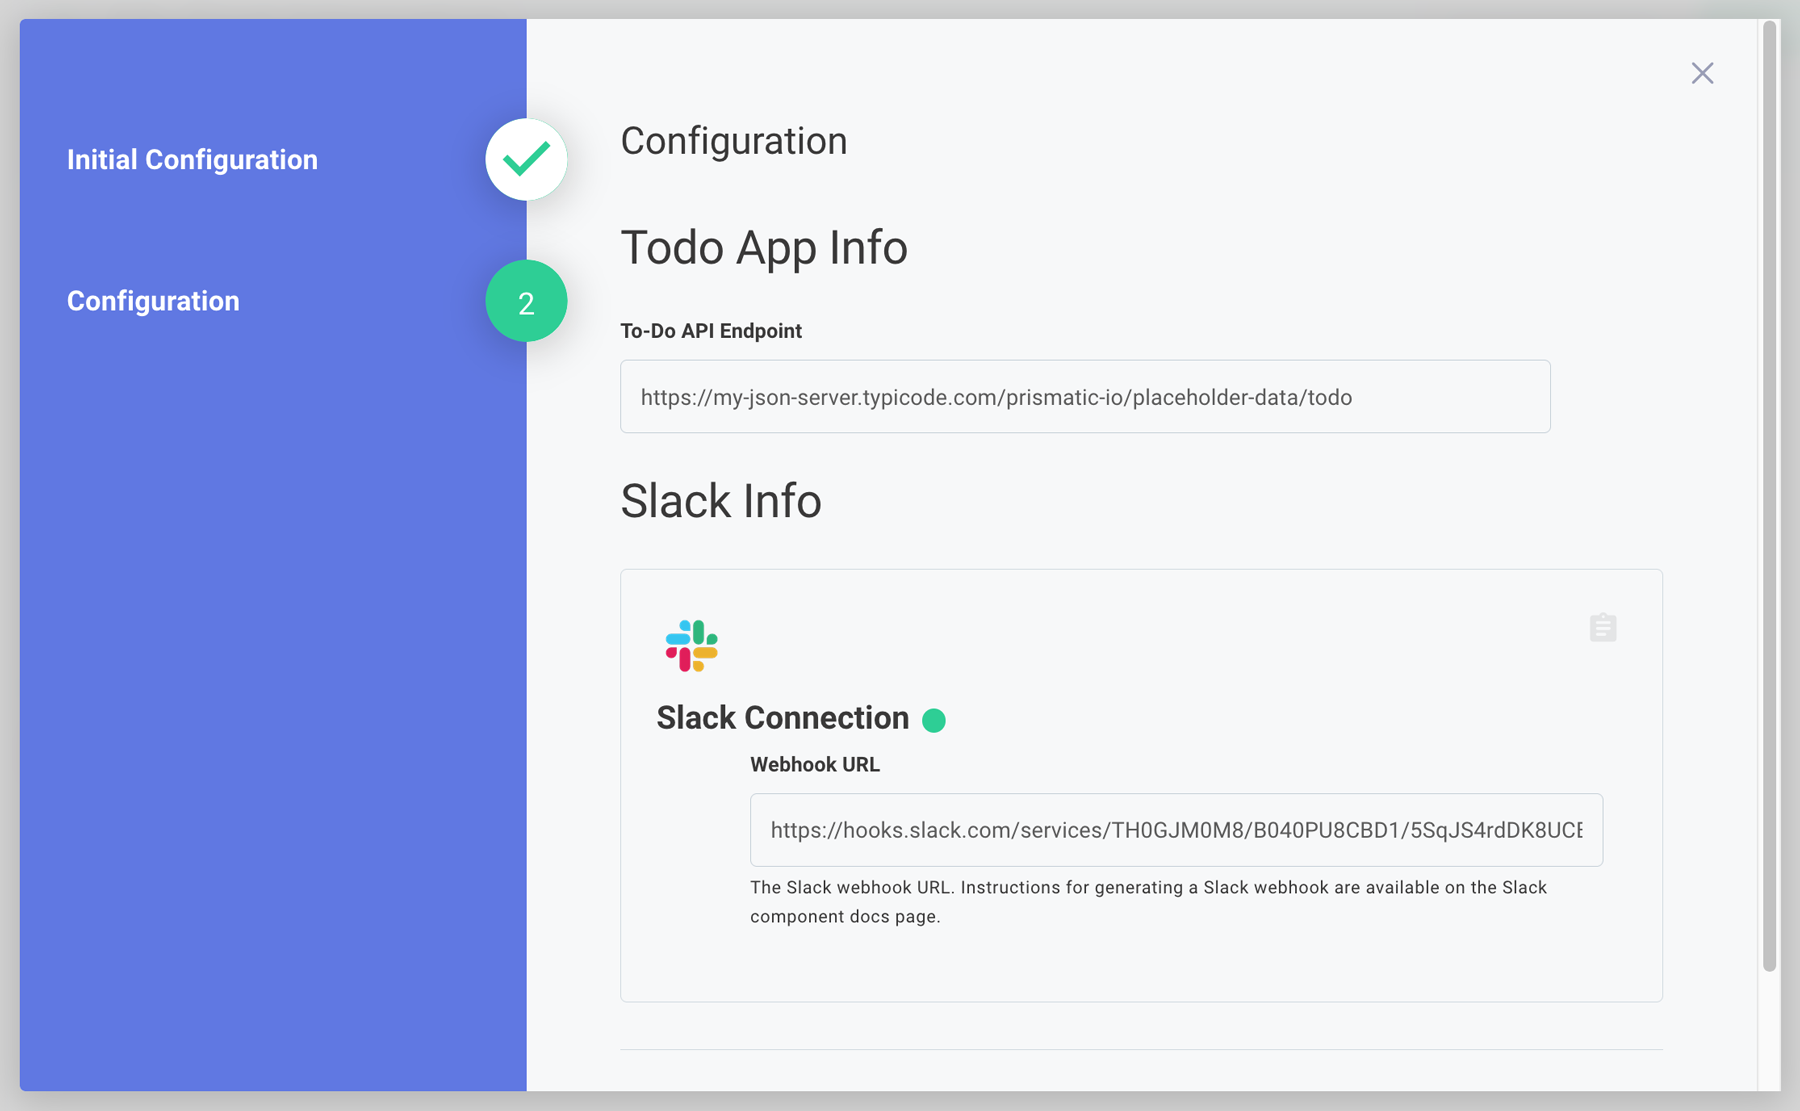
When you or your customer deploy an instance, you will work through the Configuration Wizard that your integration builders created.
This is where you can set values for connections and configuration variables for your deployed instance. If your integration developers set default values for the config variables, those will be set initially, but you can override them if you choose. Depending on config variable type, you'll have the option to toggle boolean values, enter string values, enter JSON or XML for a code config variable, or select options from a dropdown.

Be sure to click Save and deploy on the last page of the Configuration Wizard to save any changes you make.
Creating an unconfigured instance
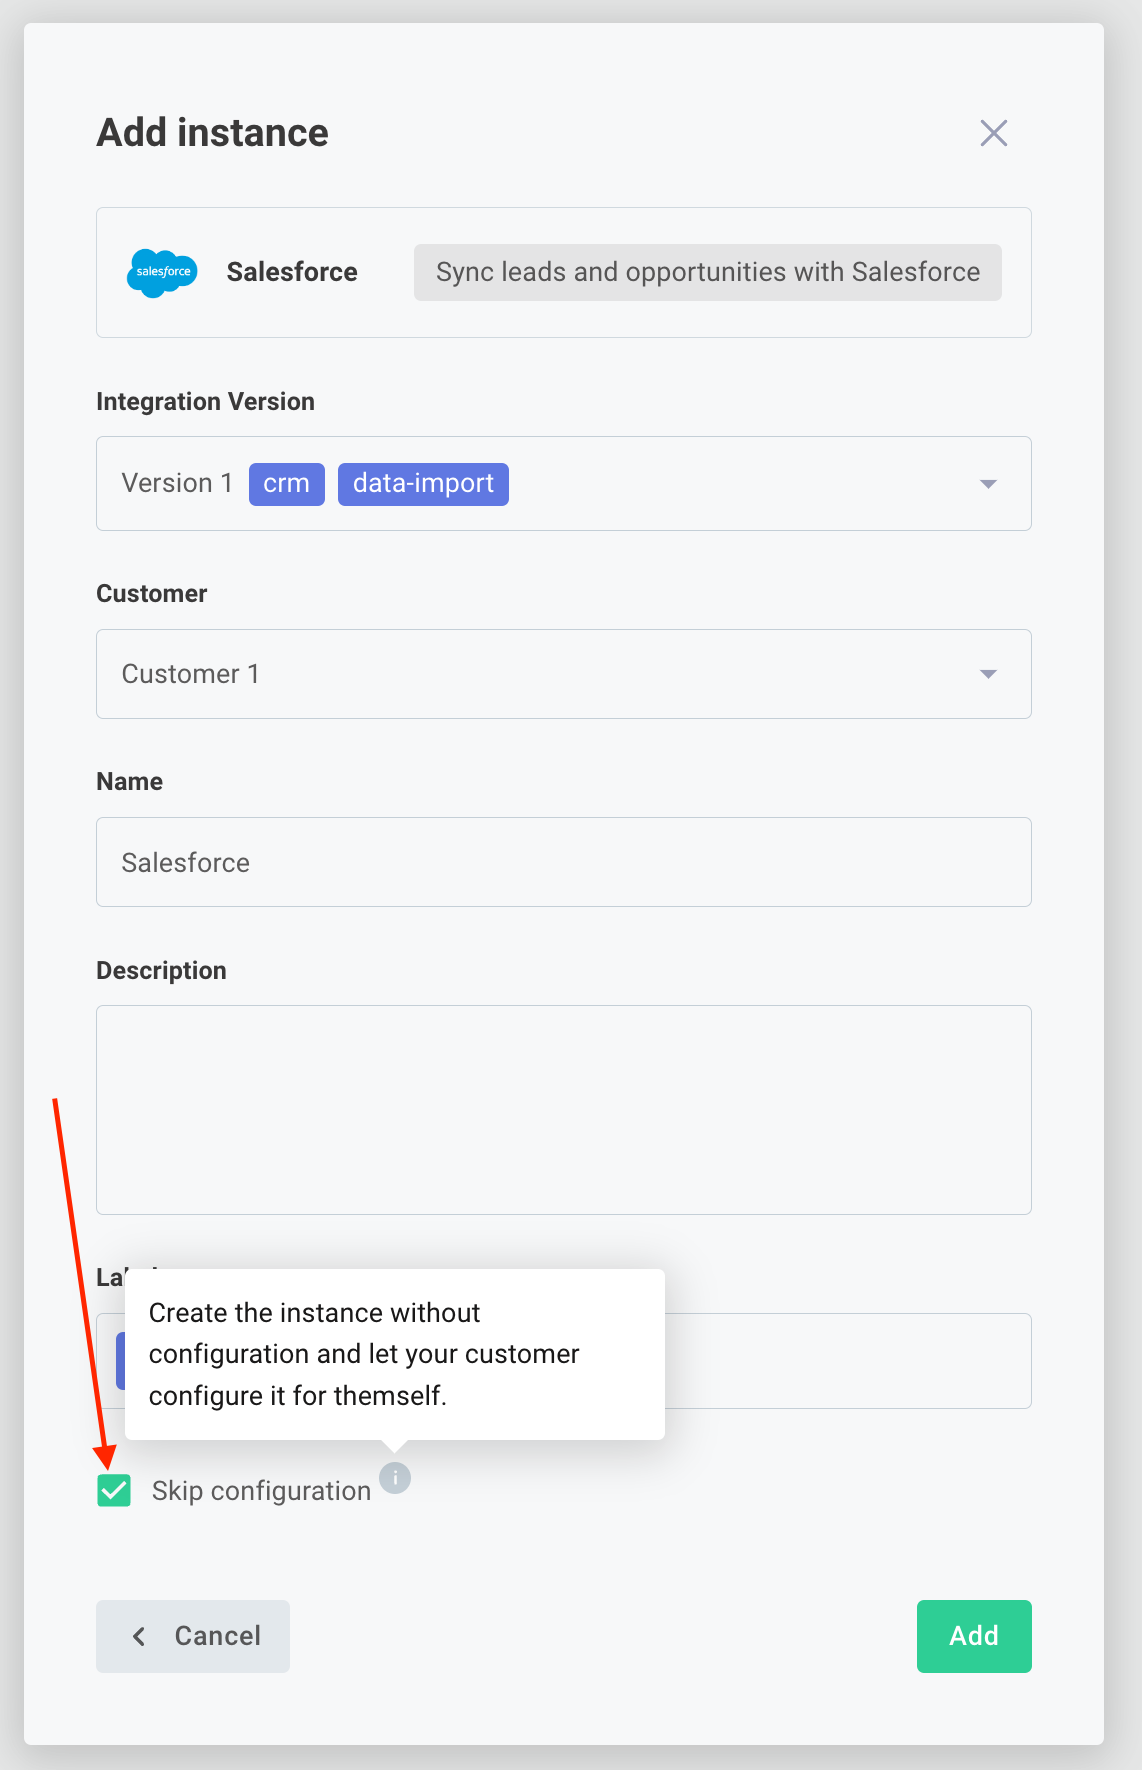
The embedded marketplace shows only integrations explicitly added to marketplace. But, there are situations where you may want to provide a particular integration that is not part of marketplace to a customer. To do that, you will need to create an unconfigured instance for a customer and elect to show all instances to your customer. Your customer will be able to log in to marketplace and configure that instance for themselves.
To create an unconfigured instance, select the Skip configuration button when creating your instance.

An unconfigured instance will not be deployed until your customer enters their configuration information, and will not count towards your monthly instance count.
Setting integration version for an instance
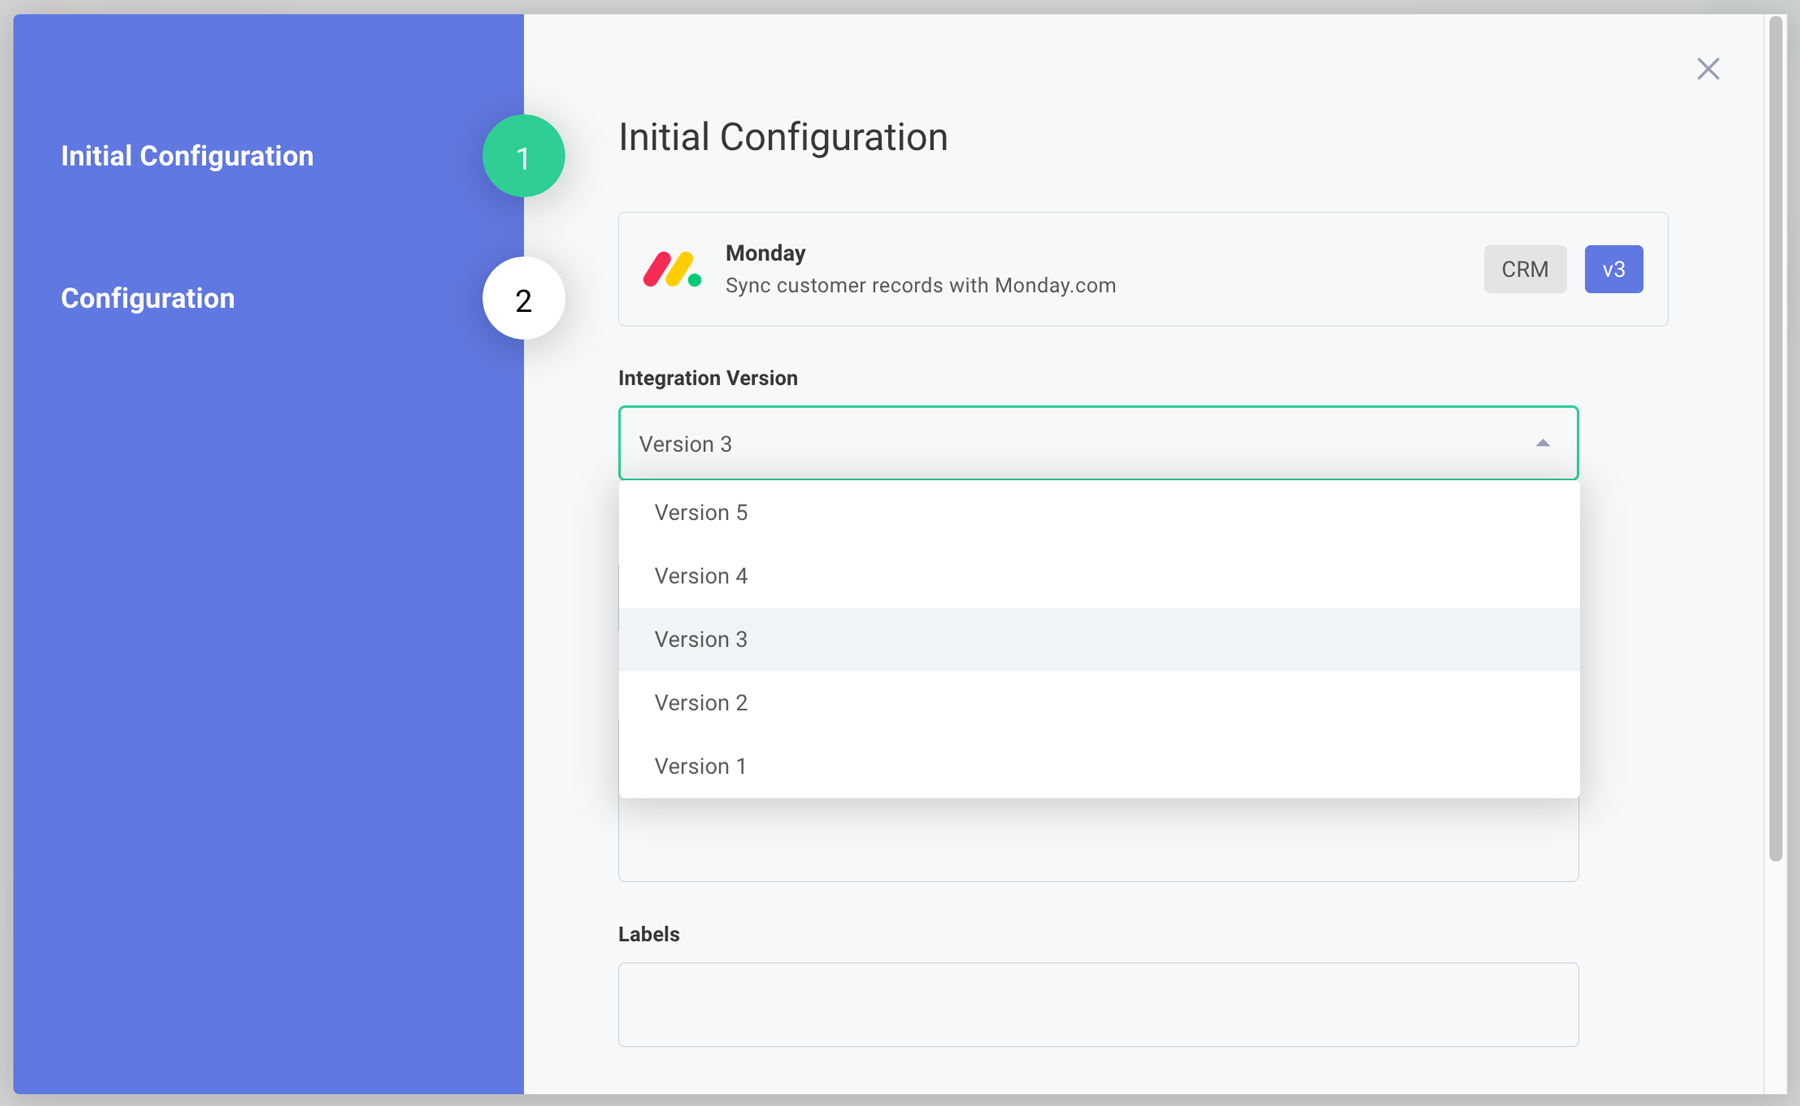
When you publish an integration, Prismatic creates a new version. Instances of the integration can then be updated to use the new integration version. In the instance's configuration page, you'll see New Version Available if your instance can be updated.
To update your instance, click the Reconfigure button at the top right of the page, and then select the latest version from the Integration Version field.

Not all instances need to run the same version of the integration. For example, one customer might be running a legacy version of a third-party app. They can continue to run "version X" of an integration until they upgrade their third-party app, at which point their instance can be upgraded to "version Y".
If an instance upgrade causes problems - suppose a new definition of an integration has a bug that an older one didn't have - you can always reconfigure the instance to run an older version of the integration by similarly clicking Reconfigure and choosing an older known working integration version.
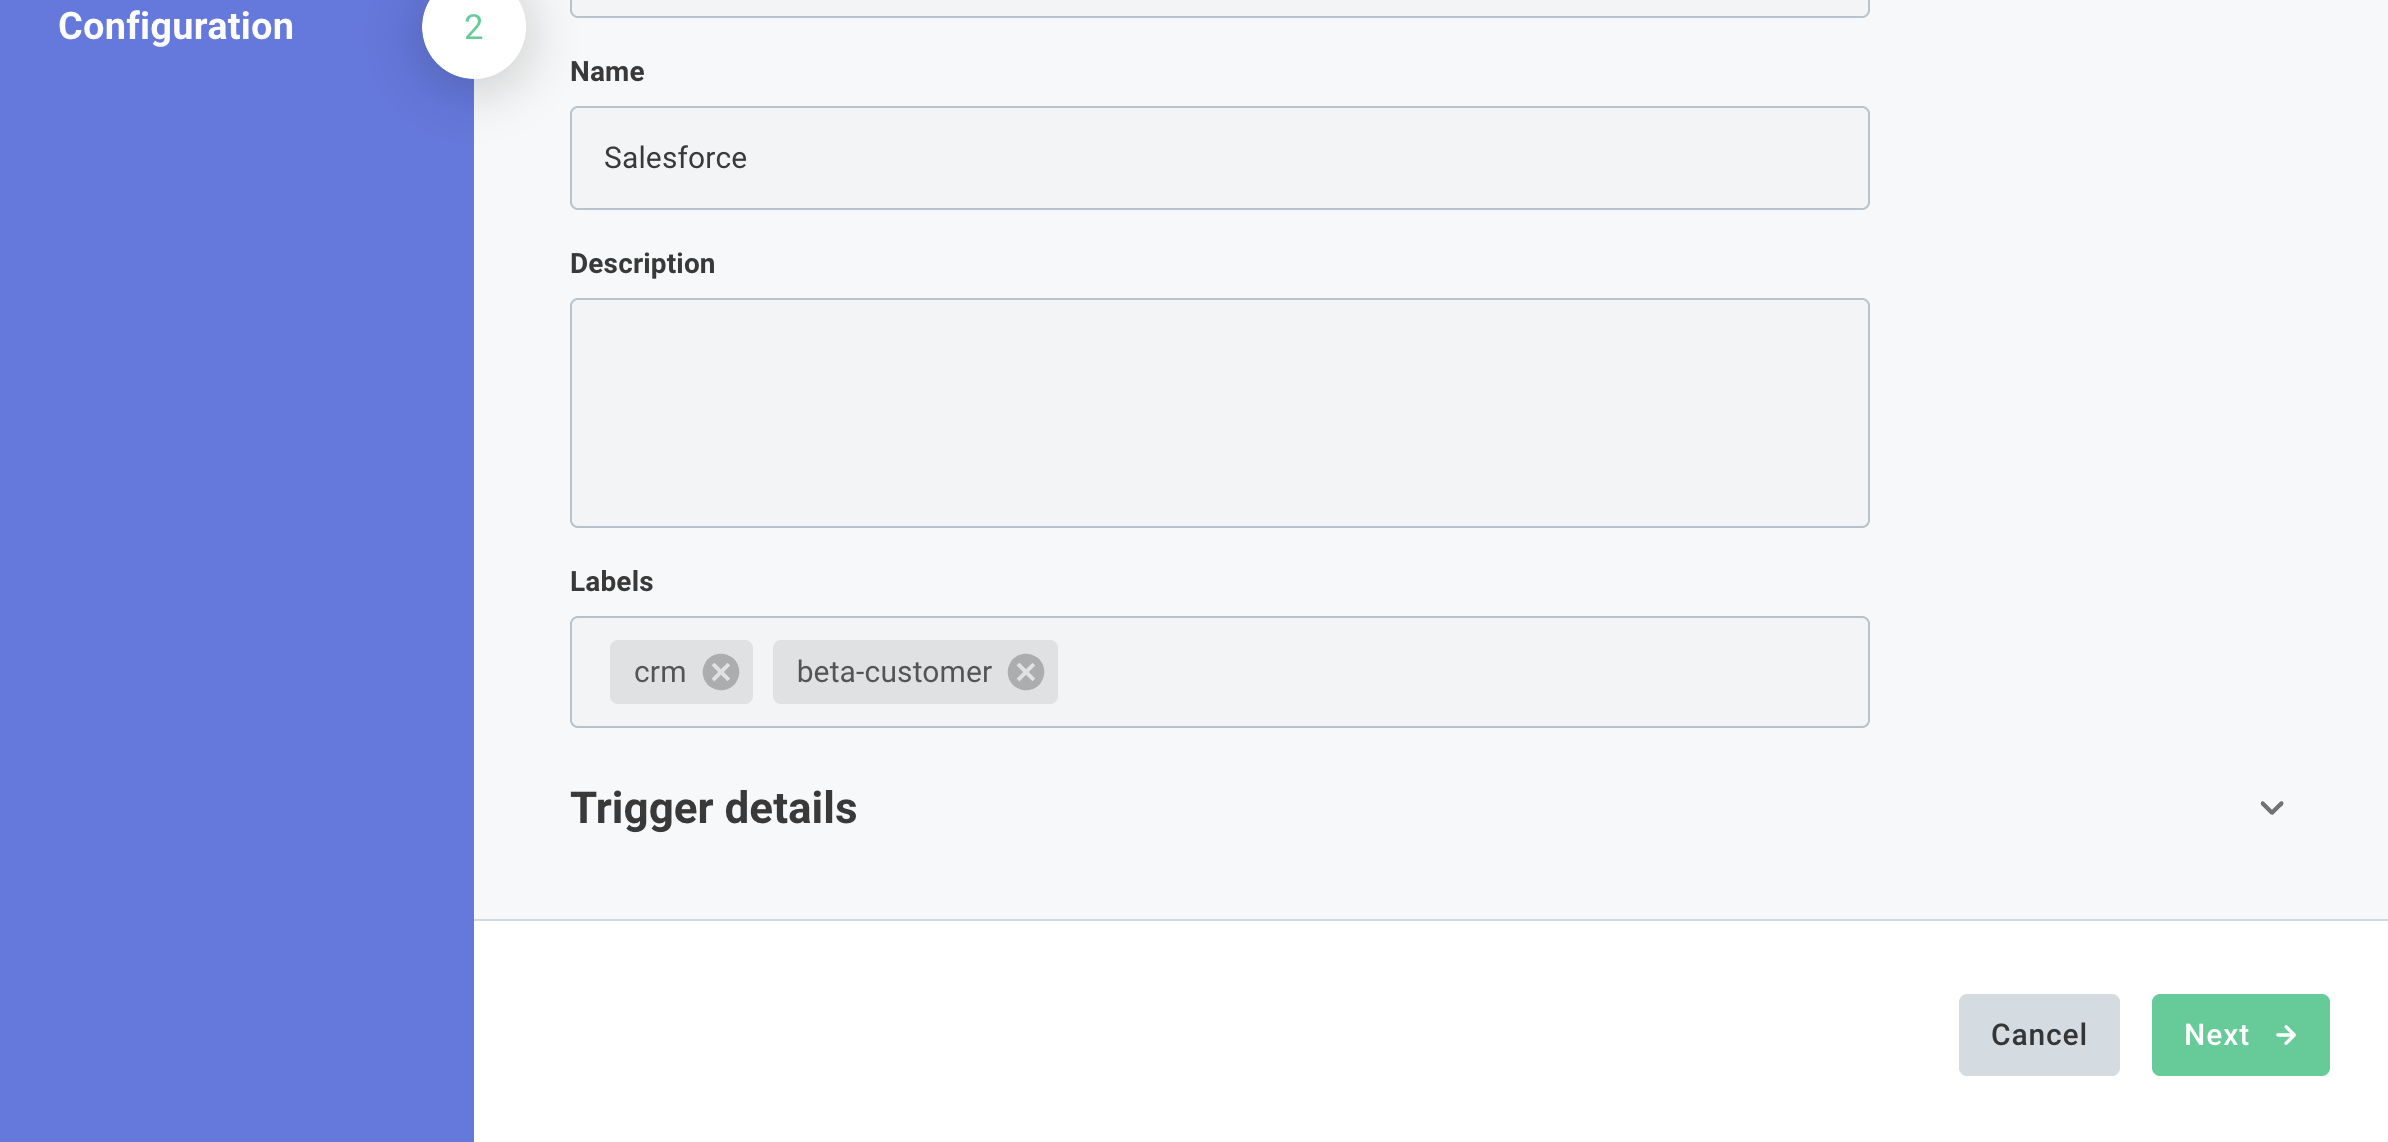
Setting instance labels
When deploying an instance, you can set labels to help you organize and filter your instances.
