Embedded Workflow Builder Overview
The embedded workflow builder feature is available to customers on specific pricing plans. Refer to your pricing plan or contract, or contact the Prismatic support team to learn more.
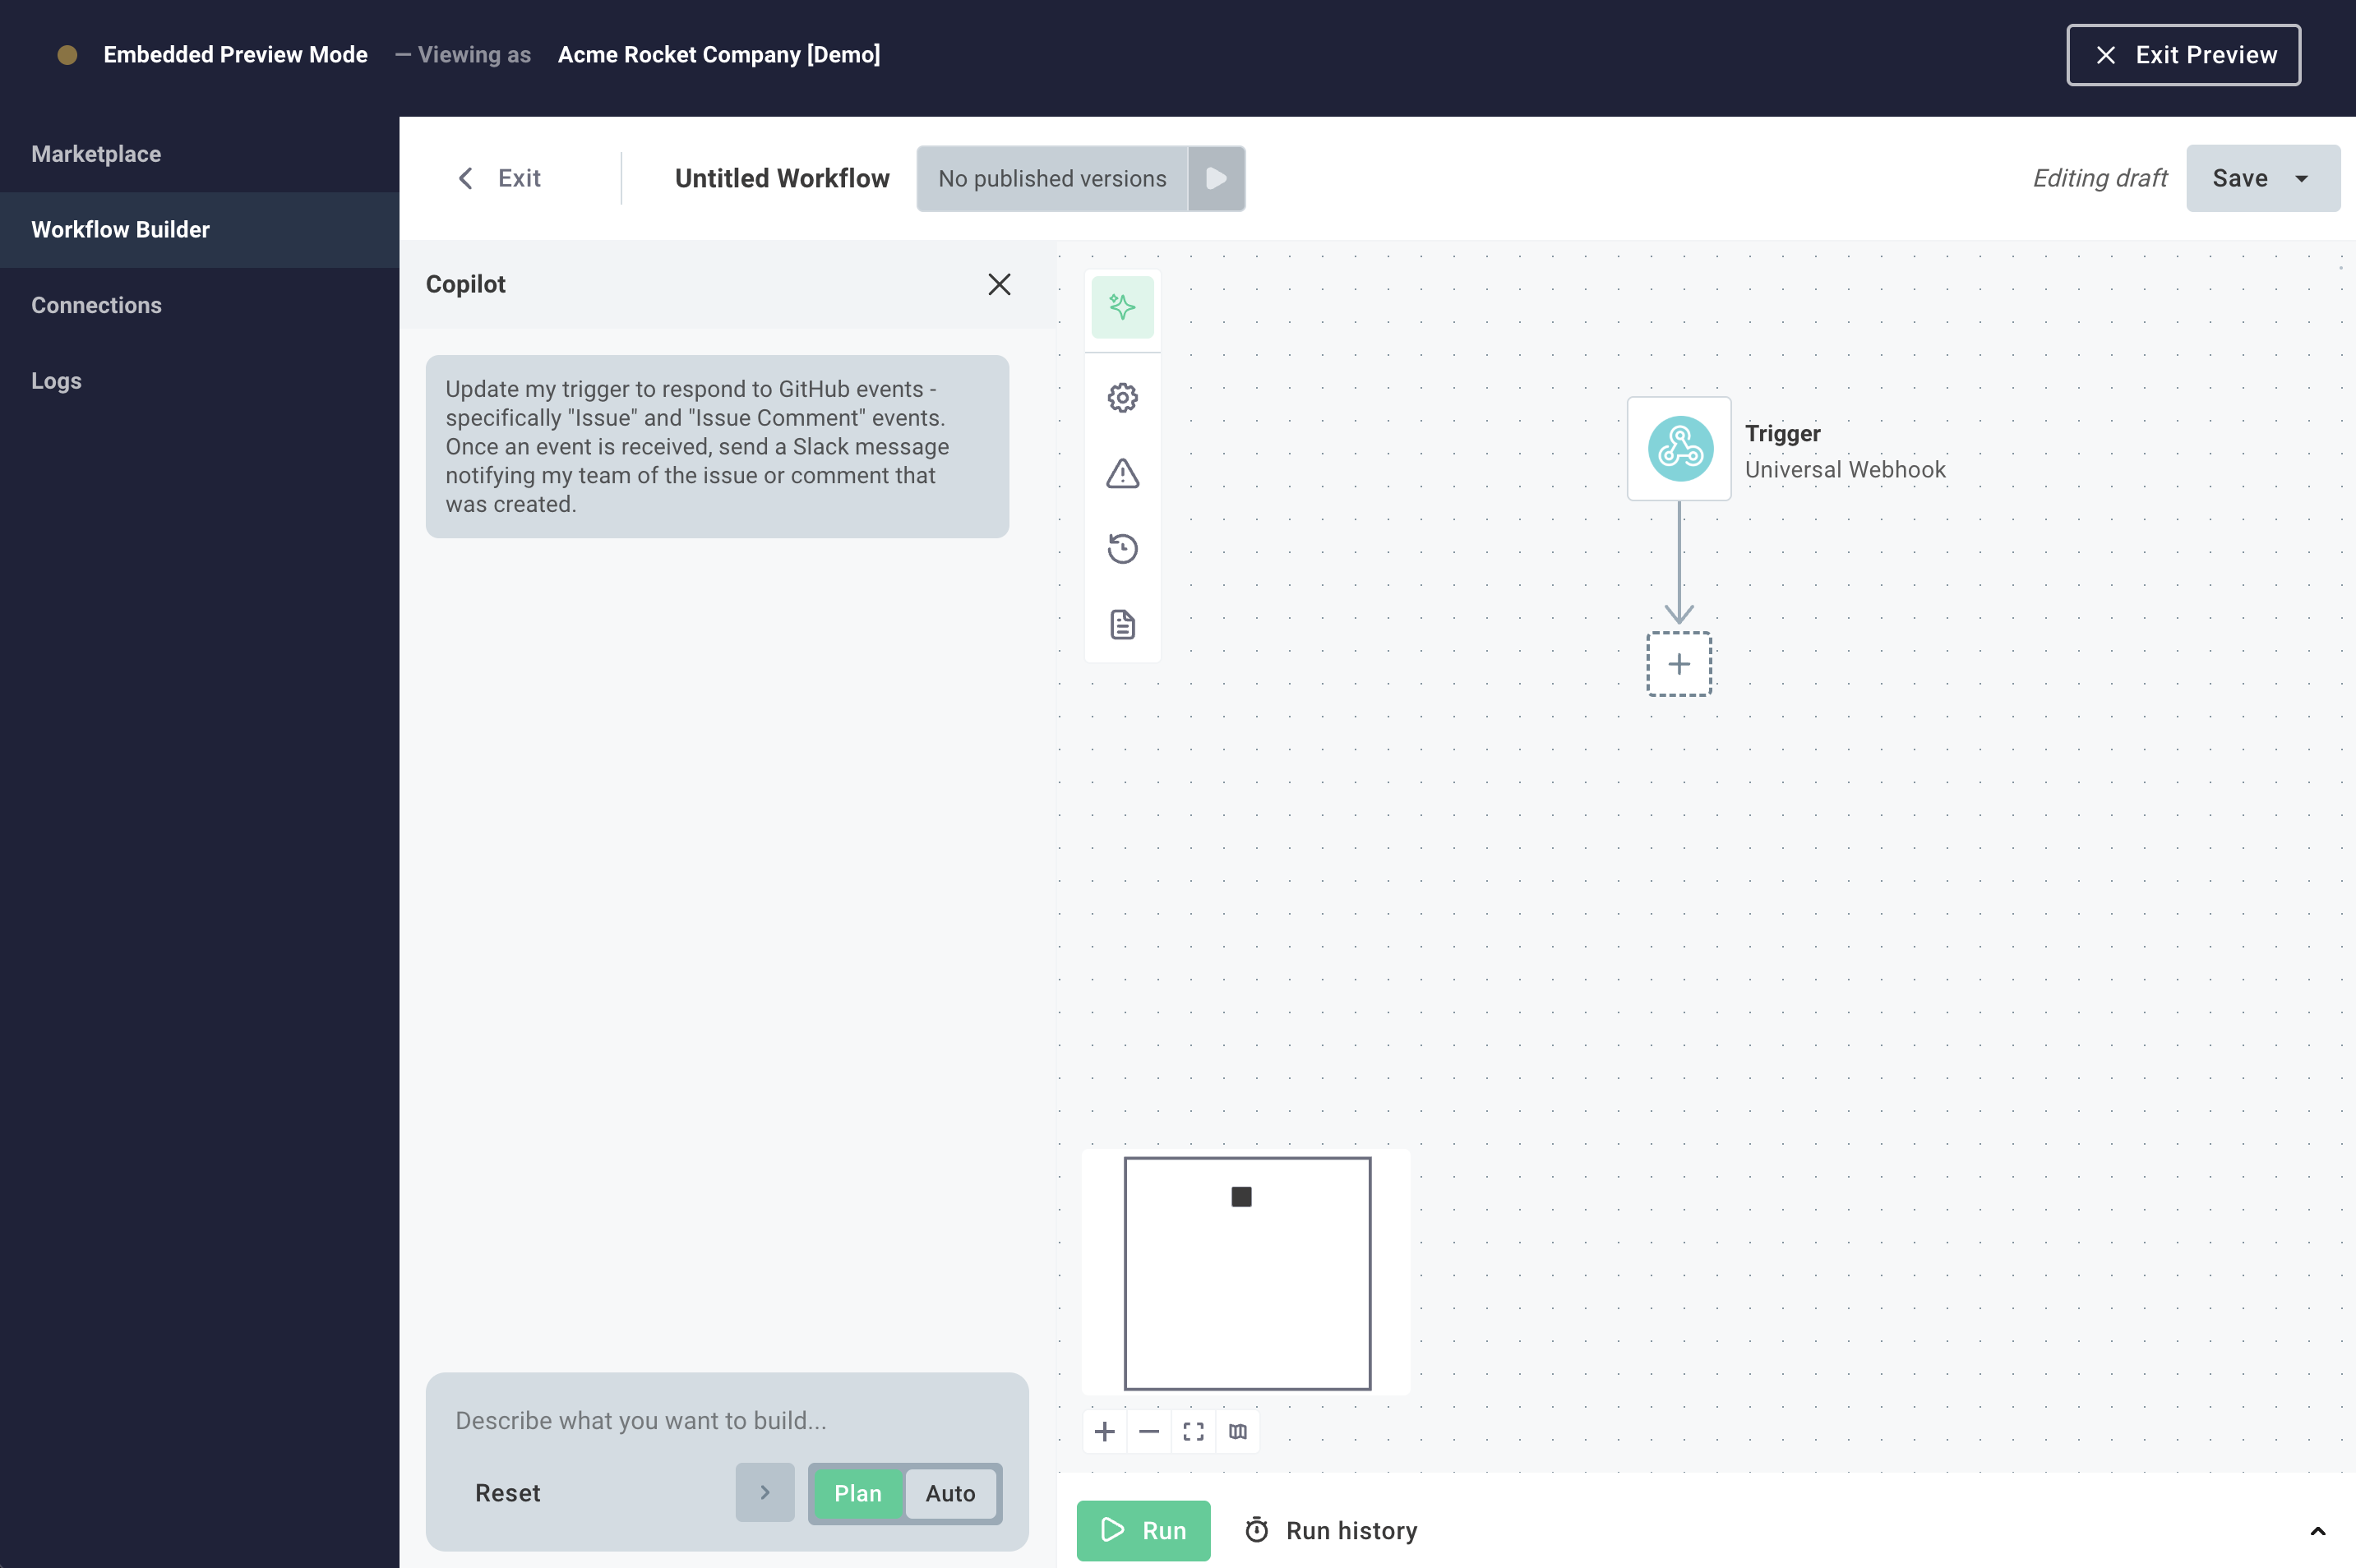
Prismatic's Embedded Workflow Builder lets your customers create and manage custom workflows right inside your application. This enables them to solve their unique integration and automation needs, without relying on your support or engineering teams.

The UI of the embedded workflow builder is similar to the low-code integration designer that your team has access to, with a few key differences:
- Workflows that customers create contain single flows. If they need multiple flows, they can create multiple workflows.
- Configuration is done inline. Customer users configure connections and steps directly in the workflow builder, rather than in a separate configuration wizard.
- Connections are scoped to the customer, and can be shared across workflows. That means that they can authenticate with Slack or Salesforce once, and use those connections in multiple workflows.
- Deployment is simpler. Once they've tested their workflow, they can click a single Enable button to deploy it.
To get started with embedding the workflow builder, first install Prismatic embedded SDK and then see Embedding the Workflow Builder.
Testing the embedded workflow builder
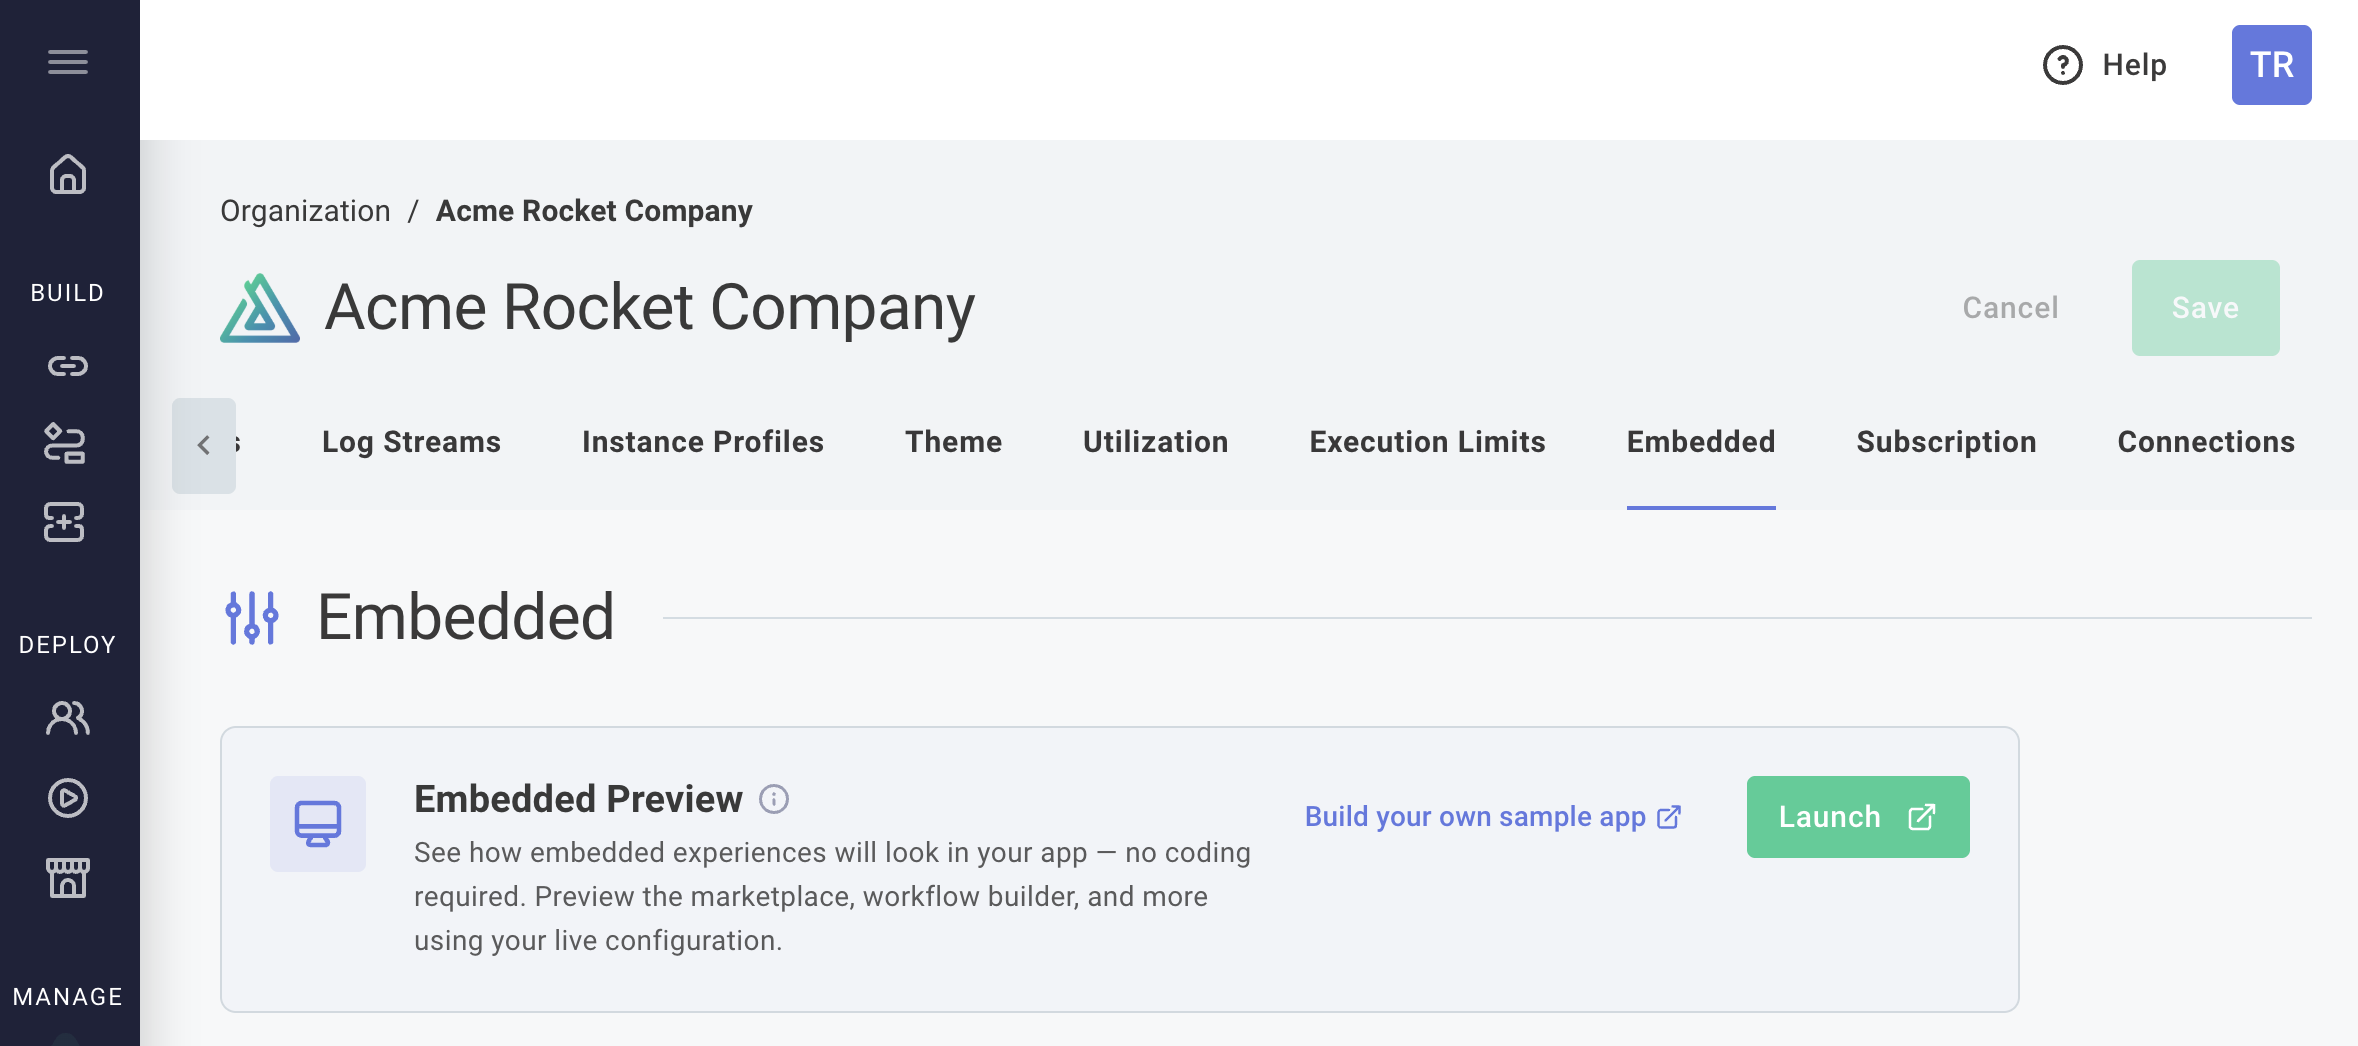
The fastest way to test the embedded workflow builder is to use our embedded playground, which is a React application that you can run from within Prismatic. Open your organization settings and then select the Embedded tab. Under Embedded Preview select Launch.
If you are looking for documentation for the classic embedded designer, see embedded designer.