Authenticating Embedded Users
Authenticating users
One advantage of embedding the Prismatic embedded marketplace or embedded workflow builder is that users don't need to remember an additional set of credentials. They can log in to your application, and you can provide them with an authentication token that allows them to interact with Prismatic.
You do this by signing a JSON Web Token (JWT) using a unique private key that you get from Prismatic. The JWT contains information about the authenticated user, like their name, external ID, and customer they're associated with.
JWT signing keys
Before you can generate a JWT, you'll need a valid signing key from Prismatic. In Prismatic, click your organization name at the bottom of the left-hand sidebar, then open the Embedded tab. Click the + Add signing Key button.
You must be an owner or admin to create a signing key.
You will be presented with a private signing key. Store this key somewhere safe - it's the key you'll use to sign JWTs for users in your application.
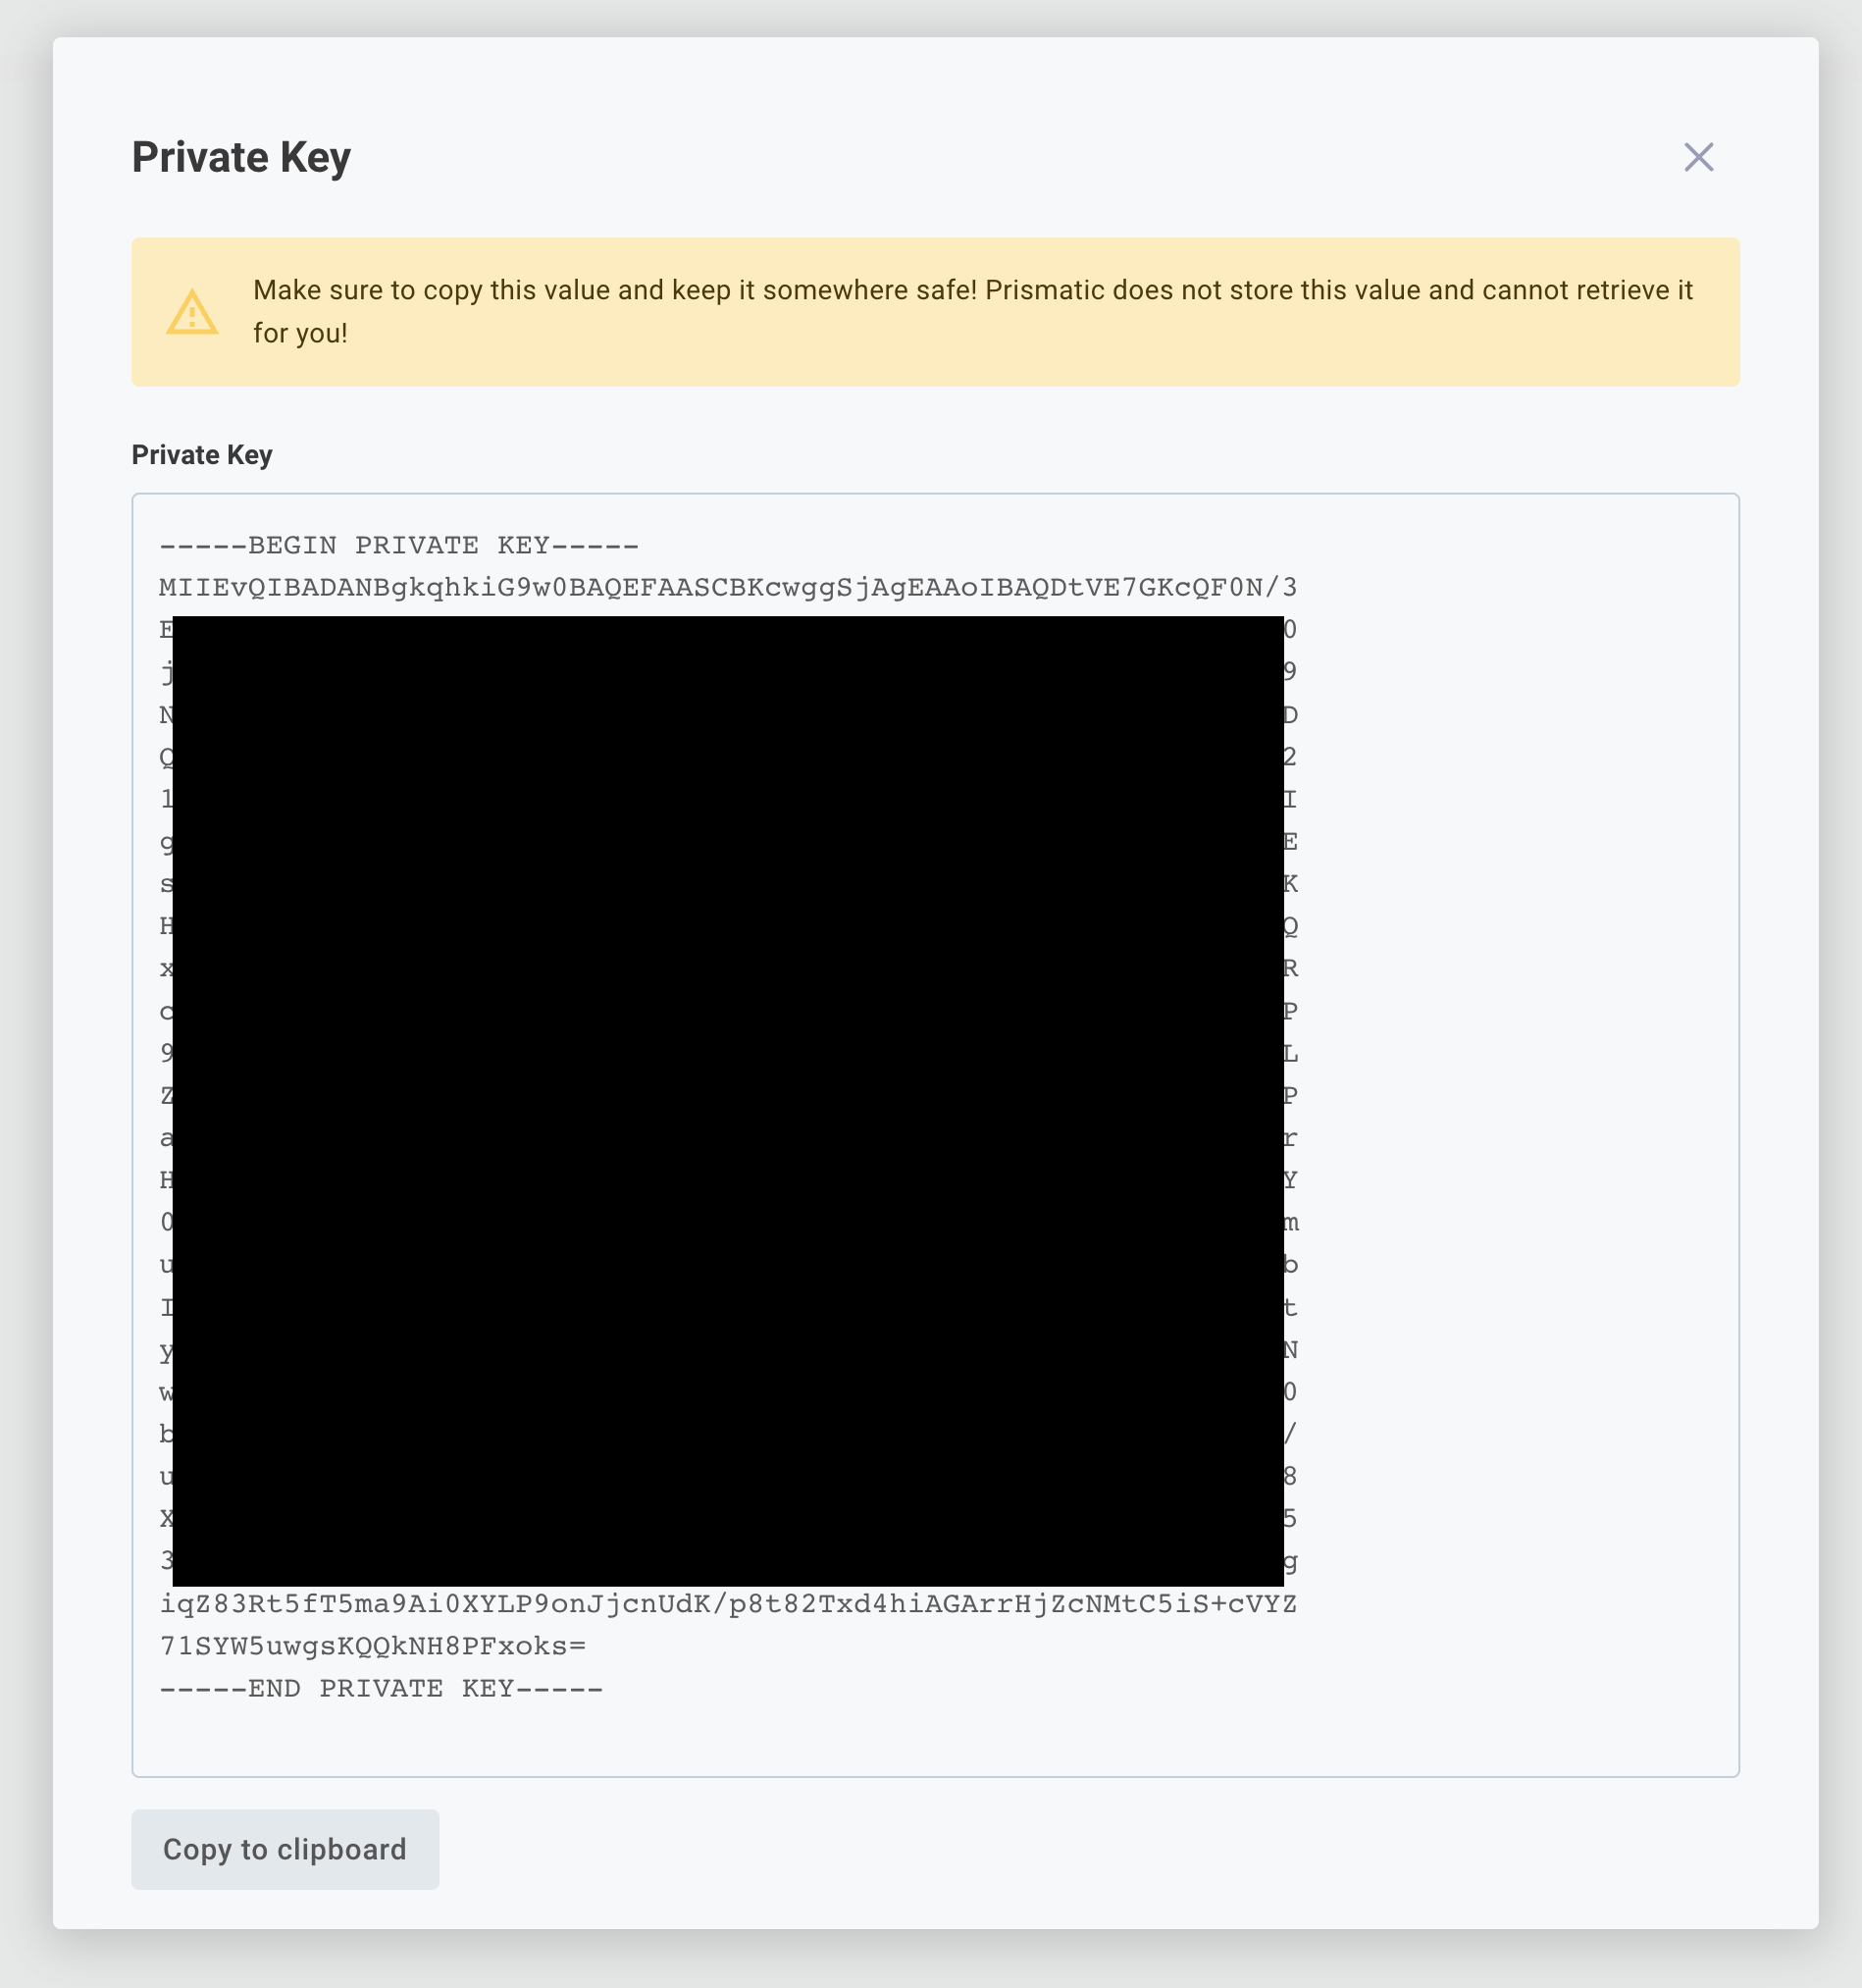
Prismatic does not store the private signing key that is generated. Instead, we only save the last 8 characters so you can easily match up a private key you have with one in our system. We store the corresponding public key to verify signatures of JWTs you send. Save the private key that you generate somewhere safe. If it's ever compromised or you lose it, you can deactivate old keys and generate a new one.
Importing your own private signing key
You can also import your own private signing key for embedded authentication. The OpenSSL CLI tool is most commonly used for generating public/private key pairs yourself:
# Generate a private key with 4096 bit encryption
openssl genrsa -out my-private-key.pem 4096

# Generate the corresponding public key
openssl rsa -in my-private-key.pem -pubout > my-public-key.pub
This will generate two files - a private key called my-private-key.pem and a public key called my-public-key.pub.
Your public key will look like this:
-----BEGIN PUBLIC KEY-----
EXAMPLE
-----END PUBLIC KEY-----
Import the public key using the Prism CLI:
prism organization:signing-keys:import -p my-public-key.pub
Create and sign a JWT
Now that you have a signing key, you can create and sign a JSON web token (JWT). Your backend API (not your frontend) should generate a JWT for your users. Your frontend client should request this JWT from your backend API.
Generate JWT tokens on your backend. If you bake JWT generation (including the signing key) into your frontend, you create a security problem - someone with the signing key could sign their own JWT and pretend to be any user.
Most programming languages offer JWT libraries for generating tokens - see jwt.io.
The JWT that you generate for a user should have the following required claims (properties):
| Field | Description |
|---|---|
sub | Unique user ID, typically a UUID |
organization | Your organization ID, found on the Embedded tab in Prismatic |
customer | The external ID of the customer the user belongs to |
iat | Signing time as a Unix timestamp. It's a good idea to use (current time) minus a small buffer to account for clock skew. |
exp | Token expiration time as a Unix timestamp |
You can also include these optional JWT claims:
| Field | Description |
|---|---|
external_id | External ID of the user in Prismatic; typically matches sub |
name | The user's name |
customer_name | If a customer with the given customer external ID doesn't exist, creates one with this name. Ignored if the customer already exists. |
concurrent_execution_limit | Maximum concurrent executions for this customer (integer). See per-customer execution concurrency. |
role | Only for user level configuration (ULC). "admin" can deploy ULC instances; "user" can supply user configuration. Defaults to "admin". |
For example, a JWT payload might look like this:
{
  "sub": "2E52B7CB-071B-4EA2-8E9D-F64910EBDBB1",
  "external_id": "2E52B7CB-071B-4EA2-8E9D-F64910EBDBB1",
  "name": "Phil Embedmonson",
  "organization": "T3JnYW5pemF0aW9uOmU5ZGVhZDU5LWU3YzktNDNkMi1hNjhhLWFhMjcyMzEyMTAxNw==",
  "customer": "abc-123",
  "customer_name": "Hooli",
  "concurrent_execution_limit": 25,
  "role": "admin",
  "iat": 1631676917,
  "exp": 1631680517
}
The JWT's header should indicate that it's signed with RSA SHA-256, and should read:
{
  "alg": "RS256",
  "typ": "JWT"
}
The sub (subject) within the JWT identifies the user who is logged in to your system.
The sub value can be any unique identifier - usually a UUID.
A customer user with that identifier will be created in Prismatic if it doesn't already exist, and will be granted permissions to configure and deploy instances to the customer they're assigned to (you assign the user to a customer in the examples below).
Example JWT signing code snippets
Here are a couple of code snippets for JavaScript and Python that would create a valid JWT to authenticate a user in Prismatic:
- JavaScript Example
- Python Example
- .Net (C#) Example
import jsonwebtoken from "jsonwebtoken";

/*
 This is for illustrative purposes only;
 Obviously don't hard-code a signing key in your code.
*/
const signingKey = `-----BEGIN PRIVATE KEY-----
MIIEvgIBADANBgkqhkiG9w0BAQEFAASCBKgwggSkAgEAAoIBAQDP3+OrT0IXqCu4
EXAMPLEEXAMPLEEXAMPLEEXAMPLEEXAMPLEEXAMPLEEXAMPLEEXAMPLEEXAMPLEE
c5R7QVzxgmGRXjPZGPf5huA1
-----END PRIVATE KEY-----`;

const currentTime = Math.floor(Date.now() / 1000);

const token = jsonwebtoken.sign(
  {
    sub: "2E52B7CB-071B-4EA2-8E9D-F64910EBDBB1", // Some unique identifier for the user
    external_id: "2E52B7CB-071B-4EA2-8E9D-F64910EBDBB1", // Generally matches sub
    name: "Phil Embedmonson", // Optional
    organization:
      "T3JnYW5pemF0aW9uOmU5ZGVhZDU5LWU3YzktNDNkMi1hNjhhLWFhMjcyMzEyMTAxNw==",
    customer: "abc-123", // This is an external ID of a customer
    customer_name: "Hooli", // The optional name to use if we need to create a new customer record
    iat: currentTime - 60, // Issued 1 minute ago to account for clock skew
    exp: currentTime + 60 * 60, // 1 hour from now
  },
  signingKey, // Store this somewhere safe
  { algorithm: "RS256" },
);
import jwt
import math
from time import time

# This is for illustrative purposes only;
# Obviously don't hard-code a signing key in your code.
signing_key = '''-----BEGIN PRIVATE KEY-----
MIIEvgIBADANBgkqhkiG9w0BAQEFAASCBKgwggSkAgEAAoIBAQDP3+OrT0IXqCu4
EXAMPLEEXAMPLEEXAMPLEEXAMPLEEXAMPLEEXAMPLEEXAMPLEEXAMPLEEXAMPLEE
c5R7QVzxgmGRXjPZGPf5huA1
-----END PRIVATE KEY-----'''

current_time = math.floor(time())

token = jwt.encode(
  {
    "sub": "2E52B7CB-071B-4EA2-8E9D-F64910EBDBB1", # Some unique identifier for the user
    "external_id": "2E52B7CB-071B-4EA2-8E9D-F64910EBDBB1", # Generally matches sub
    "name": "Phil Embedmonson", # Optional
    "organization": "T3JnYW5pemF0aW9uOmU5ZGVhZDU5LWU3YzktNDNkMi1hNjhhLWFhMjcyMzEyMTAxNw==",
    "customer": "abc-123", # This is an external ID of a customer
    "customer_name": "Hooli", # The optional name to use if we need to create a new customer record
    "iat": current_time,
    "exp": current_time + 60 * 60, # 1 hour from now
  },
  signing_key,
  algorithm="RS256")
using Microsoft.IdentityModel.Tokens;
using System.Security.Cryptography;
using System.IdentityModel.Tokens.Jwt;
using System.Security.Claims;

/*
 This is for illustrative purposes only;
 Obviously don't hard-code a signing key in your code.
*/
var pem = @"-----BEGIN PRIVATE KEY-----
MIIEvgIBADANBgkqhkiG9w0BAQEFAASCBKgwggSkAgEAAoIBAQDP3+OrT0IXqCu4
EXAMPLEEXAMPLEEXAMPLEEXAMPLEEXAMPLEEXAMPLEEXAMPLEEXAMPLEEXAMPLEE
c5R7QVzxgmGRXjPZGPf5huA1
-----END PRIVATE KEY-----";

Task<string> GetToken() {
  using var rsa = RSA.Create();
  rsa.ImportFromPem(pem);

  var descriptor = new SecurityTokenDescriptor();
  descriptor.SigningCredentials = new SigningCredentials(new RsaSecurityKey(rsa), SecurityAlgorithms.RsaSha256)
  {
    CryptoProviderFactory = new CryptoProviderFactory { CacheSignatureProviders = false }
  };

  var claims = new List<Claim> {
    new Claim("sub", "2E52B7CB-071B-4EA2-8E9D-F64910EBDBB1"), // Some unique identifier for the user
    new Claim("external_id", "2E52B7CB-071B-4EA2-8E9D-F64910EBDBB1"), // Generally matches sub
    new Claim("name", "Phil Embedmonson"), // Optional
    new Claim("organization", "T3JnYW5pemF0aW9uOmU5ZGVhZDU5LWU3YzktNDNkMi1hNjhhLWFhMjcyMzEyMTAxNw=="),
    new Claim("customer", "abc-123"), // This is an external ID of a customer
    new Claim("customer_name", "Hooli") // The optional name to use if we need to create a new customer record
  };

  descriptor.Subject = new ClaimsIdentity(claims);
  descriptor.IssuedAt = DateTime.UtcNow;
  descriptor.Expires = DateTime.UtcNow.AddHours(1); // Expire 1 hour from now

  var token = new JwtSecurityTokenHandler().CreateEncodedJwt(descriptor);
  return Task.FromResult(token);
}

var token = await GetToken();
An example NextJS implementation of JWT generation is available in GitHub.
Use the JWT to authenticate the user
Now that a user in your application has a signed JWT from the backend, you can authenticate them with the Prismatic library using the prismatic.authenticate() function in your frontend application:
// Some function that fetches the JWT from your API:
const token = getJwtToken();

try {
  await prismatic.authenticate({ token });
} catch (error) {
  console.error(`Authentication failed with error ${error}`);
}
If your customer or organization ID in your JWT are incorrect, if your JWT is not signed correctly, or if the JWT is expired, prismatic.authenticate() will throw an error.
For an example React hook that wraps the prismatic.authenticate() function, see the GitHub.
Refreshing an embedded JWT
If a customer user's JWT expires, the customer user will see a 404 in their embedded iframe.
To reauthenticate a user prior to expiration, ensure that your frontend app fetches a new token for your user and then run prismatic.authenticate({ token }) with the new token.
Existing iframes and the embedded client will be updated to use the new token.